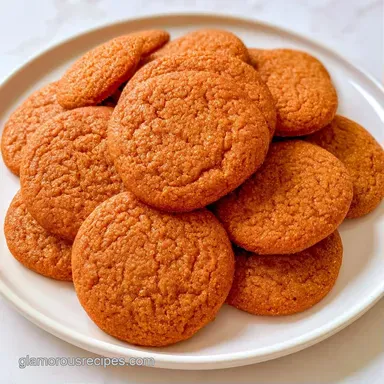
Gingerbread Cookies: Crisp and Soft
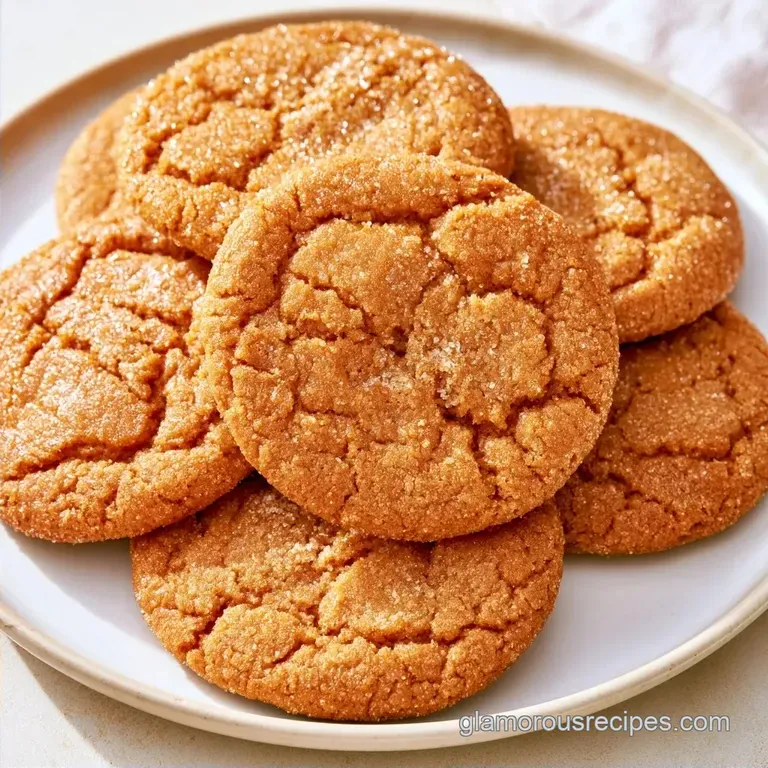
- Time: 20 min active + 2 hrs chilling
- Flavor/Texture Hook: Mahogany snap with a warm, spiced center
- Perfect for: Holiday gifting or decorative platters
- Gingerbread Cookies for Holiday Baking
- Precision in Every Ingredient
- Technical Recipe Specifications
- Essential Baking Tools
- The Assembly Process
- Correcting Texture Issues
- Preservation and Waste
- Suggested Pairing Profiles
- Creative Flavor Adjustments
- Debunking Baking Myths
- Final Precision Checkpoints
- Recipe FAQs
- 📝 Recipe Card
The aroma of ground cloves and cinnamon hitting a hot oven is the true start of the season. There is something about that specific scent that makes the house feel complete. It is a scent that signals the transition from autumn to the festive rush.
These Gingerbread Cookies rely on a specific balance of fats and sugars to achieve that iconic snap. You can expect a cookie that maintains its detailed shape after baking, which makes them a joy to decorate.
The result is a treat that balances the deep bitterness of molasses with the brightness of ginger. It takes a bit of patience with the chilling, but the payoff is a professional finish.
Gingerbread Cookies for Holiday Baking
Cold Fat: Keeping the butter chilled after mixing prevents the cookies from flattening. This technique maintains the sharp lines of your cutters.
Molasses Hydration: The moisture in the molasses interacts with the flour to create a chewy interior. This prevents the cookies from becoming too brittle.
Precision in Every Ingredient
The choice of ingredients determines the final structure. Using high-quality spices makes a noticeable difference in the aromatic profile.
| Ingredient | What It Does | Best Swap |
|---|---|---|
| All Purpose Flour | Provides structure | Spelt flour (denser result) |
| Molasses | Adds color and moisture | Dark corn syrup (less depth) |
| Unsalted Butter | Creates richness | Coconut oil (slight coconut note) |
| Brown Sugar | Adds chewiness | Coconut sugar (earthier flavor) |
The chemistry here is simple. Serious Eats' testing shows that chilling dough prevents the fat from melting too quickly, which keeps the edges sharp.
Technical Recipe Specifications
The measurements below are precise. I recommend using a digital scale for the most consistent results across multiple batches of Gingerbread Cookies.
- Yield: 24 cookies
- Prep time: 20 minutes
- Cook time: 10 minutes
- Total time: 2 hours 30 mins
- Oven Temp: 350°F (175°C)
Essential Baking Tools
You don't need a professional studio, but a few tools make the execution smoother. A stand mixer such as KitchenAid helps with the creaming process, though a hand mixer works fine.
- Rolling pin
- Parchment paper sheets
- Gingerbread man cutters
- Wire cooling rack
- Digital kitchen scale
The Assembly Process
Phase 1: Mixing the Base
- Whisk the all purpose flour, baking soda, ground ginger, ground cinnamon, ground cloves, and salt in a medium bowl. Note: This ensures the spices distribute evenly without clumps.
- Beat the softened unsalted butter and packed brown sugar in a large bowl. Continue until the mixture looks pale and fluffy.
- Mix in the unsulphured molasses, egg, and 1 tsp vanilla extract. Beat until the batter is smooth and mahogany colored.
- Gradually add the dry ingredients to the wet. Mix on low speed until flour streaks disappear. Avoid overmixing to keep the texture light.
Phase 2: The Chill and Roll
- Shape the dough into a disc and wrap it tightly in plastic wrap. Refrigerate for at least 2 hours. Note: This is the most critical step for shape retention.
- Roll the dough between two sheets of parchment paper to a 1/4 inch thickness. Note: Using parchment prevents the dough from sticking to the pin.
- Press the cutters firmly into the dough and lift straight up.
Phase 3: Baking and Finishing
- Preheat oven to 350°F (175°C). Place the Gingerbread Cookies on a lined baking sheet and bake 8-10 minutes until edges are set and centers no longer look wet.
- Let the cookies cool on the baking sheet for a few minutes. Transfer them to a wire rack to finish cooling completely.
- Mix powdered sugar, milk, and vanilla extract until the icing is smooth and glossy. Use a small piping bag to decorate.
Chef's Note: For an artisan finish, freeze your butter for 10 minutes before grating it into the sugar if you want an even lighter crumb.
Correcting Texture Issues
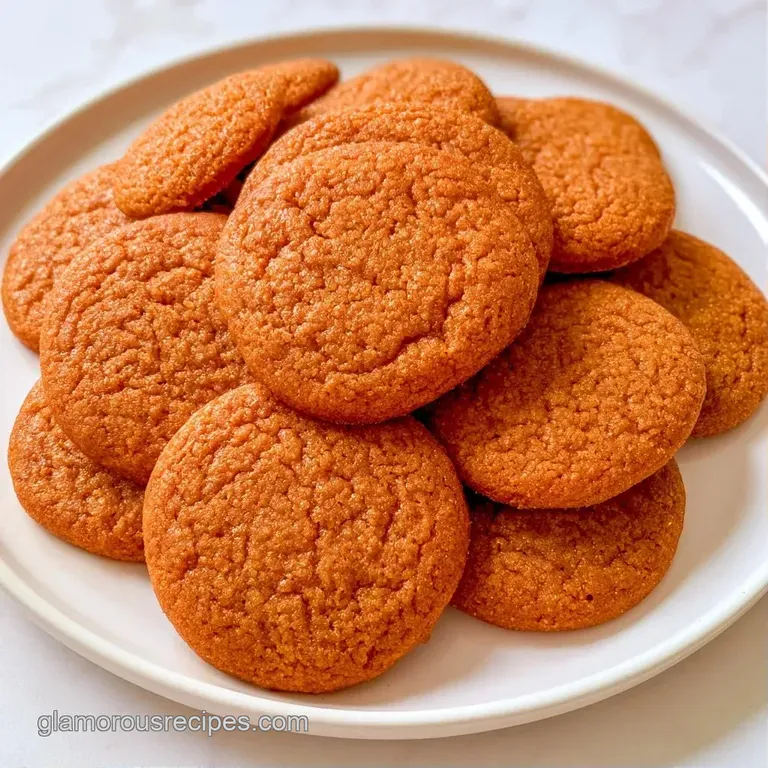
When the dough behaves unexpectedly, it usually comes down to temperature. If the kitchen is too warm, the butter softens too quickly, leading to a loss of detail in the cookies.
Dough that feels too soft to handle should go back into the freezer. A quick 10 minute blast often restores the necessary firmness for rolling.
If the cookies come out too hard, it is often a sign of overbaking. They should still feel slightly soft in the center when you pull them out, as they firm up during the cooling process.
| Problem | Root Cause | Solution |
|---|---|---|
| Cookies spread | Dough was too warm | Chill dough another 30 mins |
| Brittle texture | Overbaked | Reduce bake time by 1-2 mins |
| Dull color | Low quality molasses | Use unsulphured dark molasses |
| Sticky dough | Too much humidity | Dust surface with more flour |
Preservation and Waste
Store your Gingerbread Cookies in a container, arranging them in single layers. To keep them crisp, separate each layer with parchment paper.
Keep the cookies in a cool, dry location for up to 10 days. For longer storage, these treats freeze beautifully. Wrap them securely in foil and keep them in a sealed bag in the freezer for 3 months.
To refresh, a brief 30 seconds in a 300°F oven will bring back that fresh baked scent.
To avoid waste, make use of any remaining dough scraps. Simply gather, reroll, and bake them as "rustic" rounds; they offer the same great taste with a more natural appearance.
Suggested Pairing Profiles
These cookies have a strong spice profile, so they pair well with drinks that have creamy or acidic notes. A glass of cold almond milk or a hot Earl Grey tea balances the deep molasses.
For a more sophisticated spread, try serving them alongside Red Velvet Crinkle Cookies to create a contrast in color and texture. The tartness of the red velvet cuts through the warmth of the ginger.
Plating Levels
The way you present these treats changes the vibe of the dessert.
| Level | Presentation Style | Key Tweak |
|---|---|---|
| Simple | Casual plate | Stack 3 cookies with a napkin |
| Polished | Holiday platter | Add a sprig of fresh mint |
| Restaurant | Plated dessert | Dust with powdered sugar + orange zest |
Creative Flavor Adjustments
You can tweak the spice profile to suit your preference. Some prefer a sharper bite, while others want a softer, sweeter treat.
If you enjoy a different autumn flavor, these pair beautifully with Pumpkin Spice Cookies on a shared holiday tray.
Flavor Goal Shortcuts
- Extra snap? → Bake 2 mins longer
- Softer center? → Reduce bake time 1 min
- Bolder spice? → Add 1/2 tsp extra ginger
Dietary Adaptations
For a vegan version, replace the butter with chilled coconut oil and use a flax egg. The result is slightly more crumbly but retains the spice.
For gluten-free needs, a 1:1 gluten-free flour blend works well. However, these Gingerbread Cookies may spread slightly more, so ensure the dough is very cold before it hits the oven.
Fresh vs Shortcut Comparison
Using fresh ingredients changes the depth of the flavor.
| Component | Fresh/Traditional | Shortcut | Difference |
|---|---|---|---|
| Sweetener | Dark Molasses | Pancake Syrup | Syrup is sweeter, less bitter |
| Sugar | Packed Brown Sugar | White Sugar | White sugar makes them crispier |
| Spices | Individual Spices | Pumpkin Pie Spice | Individual spices allow precision |
Debunking Baking Myths
Some believe that adding more flour fixes sticky dough. This is a mistake. Too much flour makes the Gingerbread Cookies dry and tasteless. Instead, rely on temperature control.
Another myth is that you must use a specific "gingerbread flour." Standard all purpose flour is perfectly fine; the flavor comes from the molasses and the spice blend, not the flour itself.
Final Precision Checkpoints
- 1. Chill Time
- Exactly 2 hours (minimum).
- 2. Thickness
- 1/4 inch (exactly).
- 3. Bake Time
- 8-10 minutes (do not exceed).
These Gingerbread Cookies are a testament to the magic of simple ingredients when handled with precision. The combination of the deep mahogany color and the sharp scent of ginger makes them a staple for any holiday gathering.
Whether you are making Gingerbread Cookies for gifts or just for your own kitchen, the key is the patience during the chilling phase. Once you have that down, the process becomes a rewarding tradition.
Enjoy the process of piping the icing and seeing the final shapes emerge from the oven. It is the most rewarding part of making homemade Gingerbread Cookies.
Recipe FAQs
What are common mistakes when making gingerbread cookies?
Overmixing the batter after adding flour is the most frequent error. This develops too much gluten and makes the cookies tough instead of tender.
How do I get soft gingerbread cookies?
Avoid overbaking them by removing the tray as soon as the edges are set. If you enjoyed controlling cookie spread here, the same fat ratio logic applies to our strawberry kiss cookies.
Is it true that the dough doesn't need to be chilled?
No, this is a common misconception. Chilling the dough for at least 2 hours prevents the butter from melting too quickly, which preserves the detailed shapes.
What stops cookies from spreading in the oven?
Proper refrigeration of the dough disc for at least 2 hours is key. This keeps the fats firm so the cookies maintain their edges at 350°F.
Can I substitute the molasses with honey?
No, because honey lacks the deep bitterness and moisture that gives gingerbread its signature mahogany color. Stick to unsulphured molasses for the authentic flavor.
Why are my cookies coming out too hard?
Baking them longer than 10 minutes usually results in a brittle texture. Pull them out while the centers still look slightly soft to ensure a chewy interior.
Do I need to use only unsalted butter to get the right flavor?
Actually, no. While unsalted butter allows for better control of the salt level, salted butter works fine if you slightly reduce the added salt.
How to prepare the royal icing?
Whisk powdered sugar, milk, and vanilla extract until the mixture is completely smooth. Pipe this onto cooled cookies to create professional designs.
Homemade Gingerbread Cookies