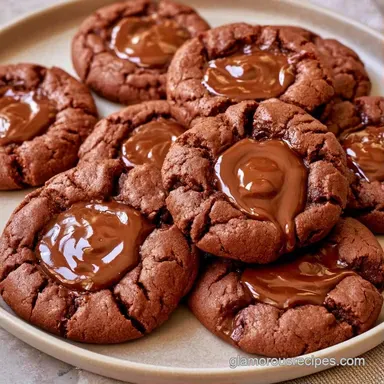
Thumbprint Cookies with Chocolate: Double Press Method
- Time: 10 min active + 10 min cook + 15 min cooling/filling
- Flavor/Texture Hook: Rich cocoa snap with a glossy, fudgy center
- Perfect for: Holiday platters or a high end tea time treat
The scent of toasted cocoa hits you the second the tray slides into the oven. There is something about that specific aroma, combined with the sight of deep brown dough forming a crisp edge, that feels like a proper pastry shop.
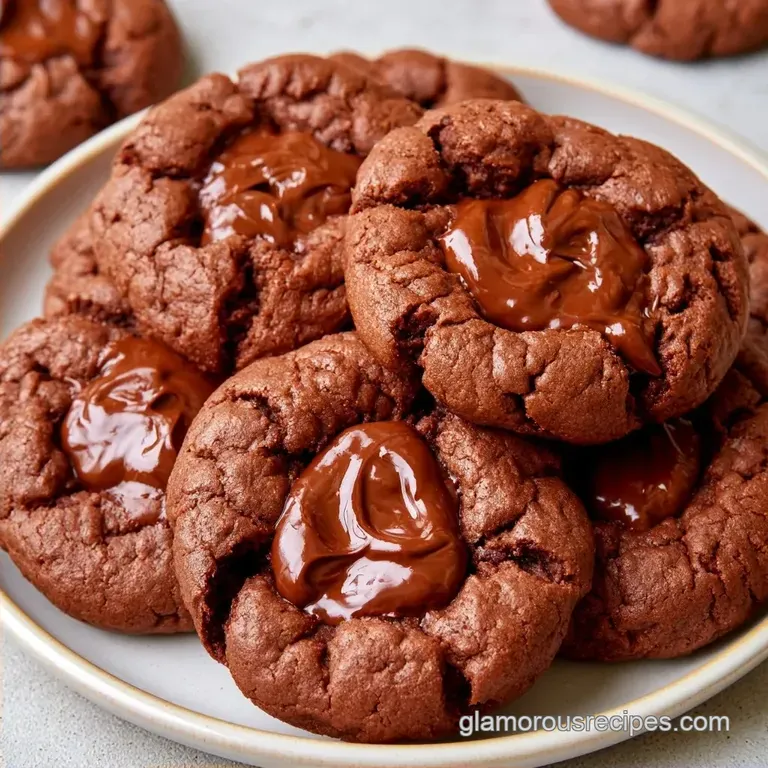
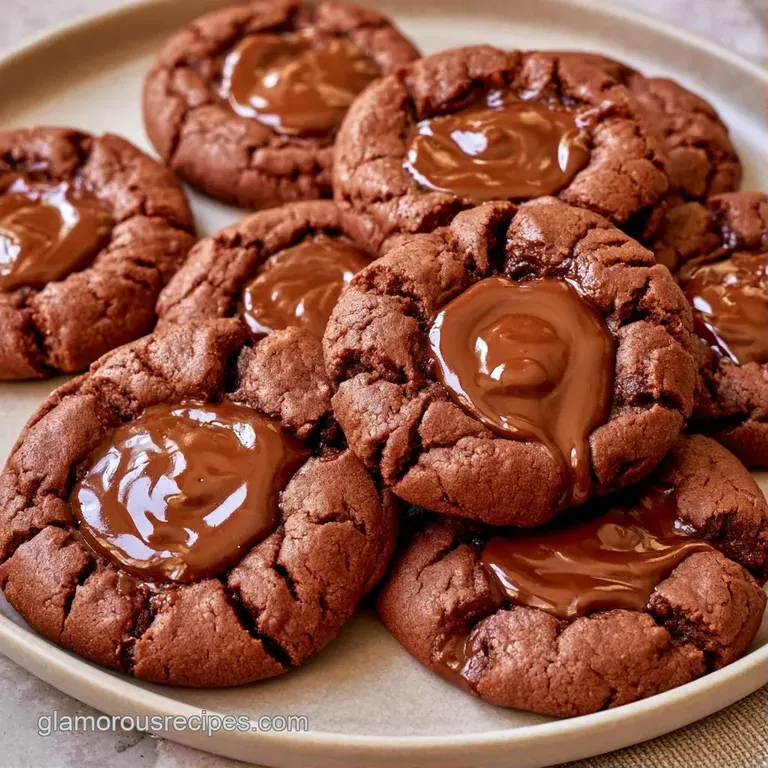
When you finally press that glossy pool of ganache into the center, it looks like a piece of jewelry.
I used to struggle with the centers filling in during the bake. I would end up with flat disks rather than a proper nest. It turns out the timing of the press is everything.
These Thumbprint Cookies with Chocolate are a study in contrast. You get the slight crunch of the cocoa base followed by the rich, dense weight of the semi sweet chocolate. It is a precise balance of sugar and bitterness.
Why These Work
- The Double Press: Pressing the dough before and after baking creates a structural wall. This stops the baking soda from lifting the center and flattening your filling.
- Fat Ratio: The butter and cream create a high fat emulsion. This gives the cookies a short, tender crumb that snaps instead of crumbling.
| Filling Method | Time | Texture | Best For |
|---|---|---|---|
| Microwave | 2 mins | Smooth, glossy | Quick batches |
| Stovetop | 8 mins | Dense, rich | Large parties |
Cookie Quick Specs
The goal here is precision. If the butter is too soft, the cookies spread. If the oven is too cold, the edges don't crisp. Stick to these markers for a consistent result.
- Butter Temp: 65°F (18°C) - should dent but not ooze.
- Bake Time: 9 minutes is usually the sweet spot for a 350°F oven.
- Ganache Temp: 90°F (32°C) - pourable but thick.
What You'll Need
| Ingredient | What It Does | Best Swap |
|---|---|---|
| Unsalted Butter | Provides structure and richness | Coconut oil (solid) |
| Cocoa Powder | Deep chocolate base | Dutch process cocoa |
| Heavy Cream | Stabilizes the ganache | Full fat coconut milk |
| Baking Soda | Creates a slight lift | Baking powder (use 1.5 tsp) |
The Dough 1/2 cup (115g) unsalted butter, softened Why this? Creates a tender, shortbread like crumb 1/2 cup (100g) granulated sugar 1 large egg 1 tsp (5ml) vanilla extract 1 1/4 cups (155g) all purpose flour 1/4 cup (25g) unsweetened cocoa powder Why
This? Adds depth without adding moisture 1/2 tsp (3g) baking soda 1/4 tsp (1.5g) salt
The Filling 1 cup (170g) semi sweet chocolate chips Why this? High cocoa butter content for a glossy finish 2 tbsp (30ml) heavy cream
The Essential Tools
Professional equipment isn't required, though some gear helps keep things tidy. A stand mixer like a KitchenAid is ideal, but a hand mixer is perfectly fine.
- Baking sheet with parchment paper (crucial for preventing sticking)
- Small round stamp or 1/2 inch piping tip (for uniform wells)
- Wire cooling rack
- Microwave safe bowl for the ganache
Making the Cookies
Phase 1: Creating the Base
- Beat the softened butter and granulated sugar. Mix until pale and fluffy.
- Add the egg and vanilla extract. Beat on medium speed until the mixture is smooth.
- Whisk flour, cocoa powder, baking soda, and salt in a separate bowl.
- Gradually add the dry ingredients to the wet mixture on low speed. Stop when the flour streaks disappear. Note: Overmixing makes the cookies tough.
Phase 2: Shaping and Baking
- Scoop 1 tablespoon of dough and roll into smooth balls. Place 2 inches apart on the sheet.
- Use your thumb or a stamp to press a shallow indentation into the center.
- Bake at 350°F (175°C) for 8–10 minutes until the edges feel set.
- Remove from oven. While hot, gently press the center again with your stamp to reset the well.
Phase 3: Filling and Finishing
- Microwave chocolate chips and heavy cream in 20 second bursts. Stir until glossy.
- Spoon the ganache into the center of each warm cookie.
- Cool on the sheet for 5 minutes, then move to a wire rack.
Fixing Common Issues
Dough Cracking During Rolling
This occurs when the butter is too chilled, preventing the dough from compressing smoothly. Briefly warm the dough in your hands or leave it on the counter for 10 minutes.
Cookies Spreading Too Much
If your cookies flatten into thin pancakes, the butter was likely too soft. Refrigerate the rolled balls for 15 minutes before the first press to firm up the fats.
Filling Leaking Out
If the ganache overflows the edges, the cookies were too warm when filled. Give them 2 minutes to cool after the second press before adding the chocolate so the walls can solidify.
Different Flavor Twists
If you want a different profile, you can tweak the base. For a more traditional feel, you can look at Cookies with Almond Flour recipe for inspiration on nut based doughs.
Decision Shortcut: Double chocolate? → Add 1/4 cup mini chips to the dough. Salted finish? → Sprinkle flaky sea salt on the ganache. Nutty base? → Swap 2 tbsp flour for almond meal.
For a more classic American vibe, these pair well with Peanut Butter Cookies on a shared platter.
| Plating Level | Presentation | Tweak |
|---|---|---|
| Simple | Stacked on a ceramic plate | Dust with powdered sugar |
| Polished | Arranged in a circle | Add a single raspberry on top |
| Restaurant | Linear alignment | Garnish with a gold leaf flake |
Keeping Them Fresh
Store these in a single layer on a tray before moving them to a container. This prevents the chocolate centers from sticking together.
- Room Temp
- 3 days in an airtight container.
- Fridge
- 7 days (keeps the ganache firm).
- Freezer
- 2 months. Freeze the baked shells, then fill and chill before serving.
Zero Waste Tip If you have leftover ganache, don't toss it. Stir in a pinch of salt and use it as a dip for fresh strawberries or apple slices.
The Best Pairings
Thumbprint Cookies with Chocolate are quite rich, so they need something to cut through the fat. A sharp, acidic contrast works best.
- Beverages: A strong espresso or a glass of cold almond milk.
- Fruit: Fresh raspberries or sliced pears.
- Cheese: A small wedge of aged Manchego or a sharp white cheddar.
Key Techniques Explained
The secret to perfect Chocolate Thumbprint Cookies is managing the temperature. By utilizing a double press technique, you counteract the baking soda's natural tendency to expand the cookie's center.
Filling before baking often causes the center to overflow; instead, baking the shell first creates a more stable base. Pressing the center a second time while the cookie is still warm and malleable ensures the well is deep enough to hold a generous amount of ganache without any spills.
Now you are ready to begin. Simply keep your butter at that precise "dent but not ooze" consistency to achieve a professional, pastry shop look. That extra 10 seconds spent re-pressing the cookies is exactly what makes the difference.
Recipe FAQs
What's the secret to a tender thumbprint cookie?
Use the correct fat ratio of softened butter and sugar. If you enjoyed managing the crumb here, the same principle works in our sugar cookie recipe.
Do you fill thumbprint cookies before or after baking?
Fill them after baking to keep the ganache glossy and smooth. Spoon the mixture into the centers while the cookies are still warm.
How is the chocolate filling made?
Microwave chocolate chips and heavy cream in 20-second bursts. Stir between each interval until the mixture is glossy and smooth.
Can I use milk chocolate instead of semi sweet?
Yes, milk chocolate works well but will result in a sweeter cookie. Use a slightly higher ratio of cocoa powder in the dough to balance the extra sugar.
How do I keep the centers from rising?
Press the center again with a stamp immediately after removing the cookies from the oven. This double press method forces the dough back down before it sets.
Why are these better than standard versions?
The combination of cocoa powder in the dough and a rich ganache center creates a deep chocolate profile. This balance avoids the one-dimensional sweetness of many store-bought options.
Is it true that the cookies must be completely cold before filling?
Actually, no. Filling them while warm allows the ganache to settle better into the well.
Which temperature is best for baking?
Bake at 350°F (175°C) for 8 to 10 minutes. This ensures the edges crisp up without overcooking the cocoa base.
Thumbprint Cookies With Chocolate