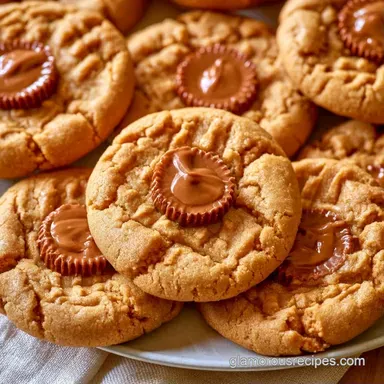
Peanut Butter Cup Christmas Cookies: Fudgy and Salted
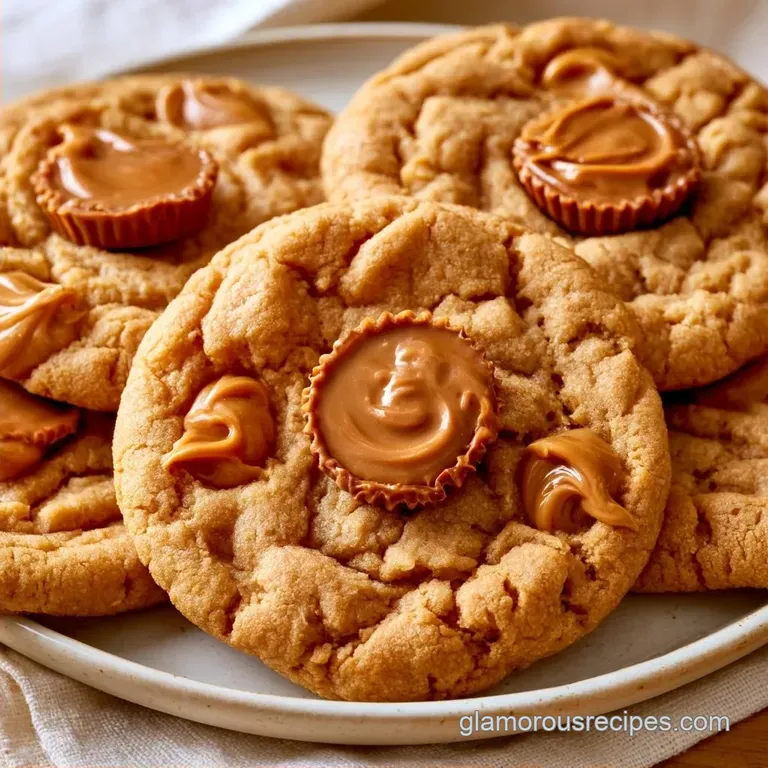
- Time: 25 minutes hands-on + 10 minutes in oven
- Taste & Feel: Crisp, sugary exterior with a fudgy, salted center
- Ideal for: Holiday dessert trays and gift boxes
The aroma of caramelized sugar and toasted peanuts wafts through the air the moment the oven door opens. It is a rich, cozy scent that permeates the kitchen, making the December chill outside feel distant.
I once viewed the extra sugar coating as purely aesthetic. However, I discovered that without those crystals, the exterior lacks the distinct, sugary snap that offsets the soft peanut butter middle. That granulated sugar is the secret to the recipe, providing both a structural crunch and a frost like shimmer.
You can expect a treat that harmonizes the saltiness of peanut butter with decadent chocolate. These Peanut Butter Cup Christmas Cookies maintain their shape beautifully, ensuring every guest receives a polished, professional looking pastry.
Why This Works
- Sugar Blend: Granulated sugar creates crisp edges while the brown sugar keeps the center chewy.
- High Heat: Baking at 375°F sets the cookie's perimeter quickly, which stops them from spreading into flat pancakes.
| Method | Time | Texture | Best For |
|---|---|---|---|
| Oven Tray | 10 mins | Crisp edge, soft center | Consistent batching |
| Skillet Bake | 15 mins | Gooey, cake like | Single large dessert |
Quick Recipe Specs
The precision in this recipe comes from the temperature control. While many cookies bake at 350°F, the jump to 375°F is a deliberate technique to preserve the height of the cookie.
For those who enjoy experimenting with dough, you might find the edible cookie dough recipe a great way to test flavor profiles without turning on the oven.
Essential Ingredients
| Component | Purpose | Substitute Notes |
|---|---|---|
| Unsalted Butter | Adds richness and fat | Salted butter is fine; just skip the added salt |
| Peanut Butter | Primary flavor and structure | Almond butter gives a nuttier, less sugary flavor |
| Baking Soda | Ensures browning and lift | Baking powder creates a softer, less crisp cookie |
| Mini PB Cups | Key chocolate ingredient | Use chopped dark chocolate for a richer, more bitter taste |
Full List:
- 1/2 cup (115g) unsalted butter, softenedWhy this? Essential for a smooth, creamy emulsion
- 1/2 cup (115g) creamy peanut butterWhy this? Forms the signature sweet and-salty protein base
- 3/4 cup (150g) granulated sugar
- 1/2 cup (60g) packed brown sugar
- 1 large egg, room temperatureWhy this? Provides moisture and holds the dough together
- 1 tsp (5ml) pure vanilla extract
- 1 1/2 cups (190g) all purpose flour
- 3/4 tsp (4g) baking soda
- 1/4 tsp (1.5g) salt
- 26 miniature peanut butter cups, unwrapped
- 2 tbsp (25g) granulated sugar (for rolling)
Required Baking Tools
Precision requires the right tools. I recommend a stand mixer such as a KitchenAid for the creaming process, though a hand mixer works if you're patient. You will also need a parchment lined baking sheet to prevent sticking and a wire cooling rack.
A digital scale is the best way to ensure the flour is measured accurately, as packed cups can lead to dry, crumbly cookies.
Key Baking Steps
Creaming the Base
Combine the softened butter, peanut butter, and both sugars on medium high speed. Beat the mixture until it becomes light and fluffy. Stir in the vanilla extract and egg until the batter is completely emulsified.
Incorporating the Dry Mix
Sift the flour, baking soda, and salt into the bowl. Using a spatula or low mixer speed, fold the ingredients together until the white streaks of flour are gone. Avoid overmixing to ensure the pastry remains tender.
Preparing the Tray
Set your oven to 375°F (190°C). Form rounded tablespoons of dough and coat each piece in the extra granulated sugar. Arrange them 2 inches apart on a parchment lined baking sheet.
Baking to Perfection
Bake for 8–10 minutes until the perimeter is firm but the middles remain slightly soft.
Adding the Toppers
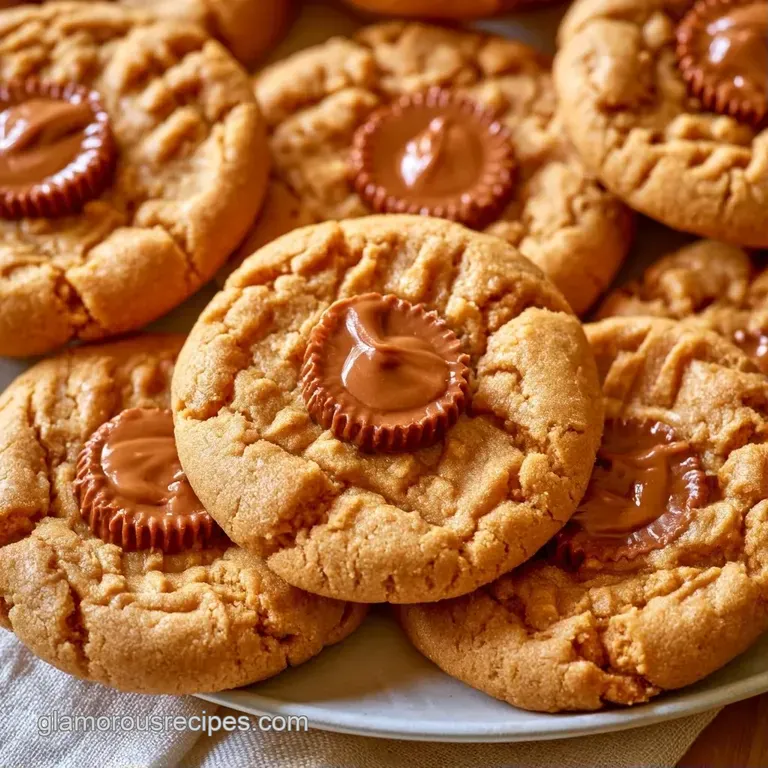
Immediately after taking the tray out, press one miniature peanut butter cup firmly into the center of each hot cookie. Let them firm up on the pan for 5 minutes prior to transferring them to a wire rack.
Fixing Common Errors
When cookies spread too much, it usually means the butter was too warm or the oven wasn't hot enough. The structure depends on that initial "shock" of heat.
If the chocolate sinks too deep, you likely waited too long to press the cups in. The window of opportunity is about 30 seconds after the tray leaves the oven.
Preventing Cookie Spread
If your dough feels greasy or soft, chill it for 30 minutes. This firms up the fats and ensures a thicker, more professional shape.
Fixing Over Baked Dryness
Check your oven calibration. If the cookies are brown before 8 minutes, lower the rack one position or check for "hot spots" in your oven.
Stopping the Chocolate Melt
Ensure the miniature cups are at room temperature before pressing. If they are too warm, they will liquify and bleed into the dough.
| Problem | Fix |
|---|---|
| Cookies flatten into pancakes | Chill dough 30 mins before baking |
| Centers are raw/gooey | Extend bake time by 1-2 minutes |
| PB cups slide off | Press firmly while cookies are piping hot |
Adjusting the Batch
Scaling Down (1/2 Batch): Use 1/4 cup butter and 1/4 cup peanut butter. For the egg, whisk one in a small bowl and use exactly half of it by weight or volume. Decrease the baking time by 1-2 minutes and watch the edges carefully.
Scaling Up (2x Batch): Avoid overloading the mixer by working in stages. When doubling, only increase the salt and baking soda to 1.5x the original amount to prevent a metallic flavor.
Drop the heat to 350°F (175°C) and extend the bake time by 2-3 minutes to ensure the center of the larger mass is fully cooked.
Common Pastry Myths
Searing the bottom of a cookie on the stovetop before baking doesn't actually "lock in" moisture. It just creates a burnt flavor. The best texture comes from the oven's convection.
Many believe that using "extra crunchy" peanut butter creates a better texture. In reality, the large nut pieces can create air pockets that cause the cookie to crack unevenly. Creamy is the standard for a reason.
Storage and Freezing
To store these at room temperature, place them in a container with parchment paper between layers to keep the chocolate from sticking. They will remain fresh for 5 days.
For longer storage, keep the baked cookies in a freezer safe bag for as long as 3 months. To enjoy them, allow them to thaw at room temperature for 20 minutes. A quick 3-minute warm-up in a 300°F oven restores that fresh baked quality.
If you enjoy peanut butter flavors in your sweets, you might also like my chewy peanut butter cookies recipe for a more traditional take.
The Best Pairings
These Peanut Butter Cup Christmas Cookies are rich and sweet, so they need a contrast. A glass of cold oat milk or a sharp, bitter espresso helps cut through the fat of the peanut butter.
For a holiday spread, pair these with a tart cranberry relish or some fresh sliced pears to balance the palate.
Presentation Levels
| Style | Execution | Detail |
|---|---|---|
| Simple | Stacked on a white plate | Clean and classic |
| Polished | Drizzled with melted dark chocolate | Adds a professional look |
| Restaurant | Dusted with sea salt and gold leaf | High contrast luxury |
Chef's Note: For the restaurant look, use a toothpick to drizzle the chocolate in very thin, precise lines across the cookie. The sea salt should be a fine flake, added the moment the chocolate drizzle hits the cookie.
Quick Decision Guide:
- Extra salt? → Add a pinch of flaky sea salt on top.
- Darker flavor? → Replace brown sugar with dark brown sugar.
- More crunch? → Roll in crushed peanuts instead of sugar.
Recipe FAQs
What variations can I try with these peanut butter treats?
You can roll the dough in cinnamon sugar instead of plain sugar for a warmer flavor.
Tip: try adding a pinch of salt to the sugar coating to balance the sweetness.
How do I get the perfect fluffy texture?
Beat the butter, peanut butter, and sugars on medium high speed until pale and fluffy.
Tip: make sure your egg is at room temperature so the batter doesn't break.
Is it true that peanut butter cookies can be made without flour?
Actually, no. This specific recipe requires all-purpose flour to maintain its structure and shape.
Tip: sift the flour with the baking soda to avoid clumps in the dough.
How to tell when the cookies are finished baking?
Remove them from the oven when the edges are set but the centers remain slightly soft.
Tip: use a digital thermometer to ensure your oven is exactly 375°F for consistent results.
Should the peanut butter cups be baked inside the dough?
Not true. Press the miniature cups into the center immediately after removing the tray from the oven.
Tip: press firmly so the chocolate slightly melts and anchors to the cookie.
How are these best stored for gifting?
Keep them in a container with parchment layers between the cookies to prevent sticking.
Tip: use a freezer safe bag if you plan to store them for up to 3 months.
Why do these cookies hold their shape so well?
The ratio of fats to flour creates a stable base that prevents excessive spreading.
Tip: if you enjoyed mastering this dough stability, see how the same principle works in our cut-out sugar cookie.
What is the best way to scoop the dough?
Use rounded tablespoons of dough to ensure uniform sizes and bake times.
Tip: place them exactly 2 inches apart on the baking sheet to avoid merging.
Peanut Butter Cup Christmas Cookies