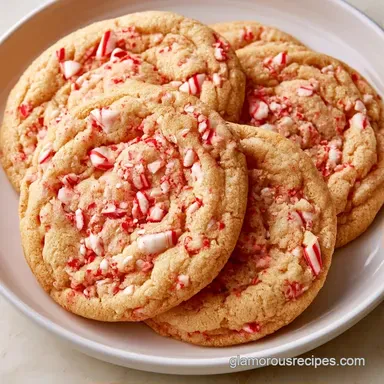
Candy Cane Cookies: Buttery Peppermint Snap
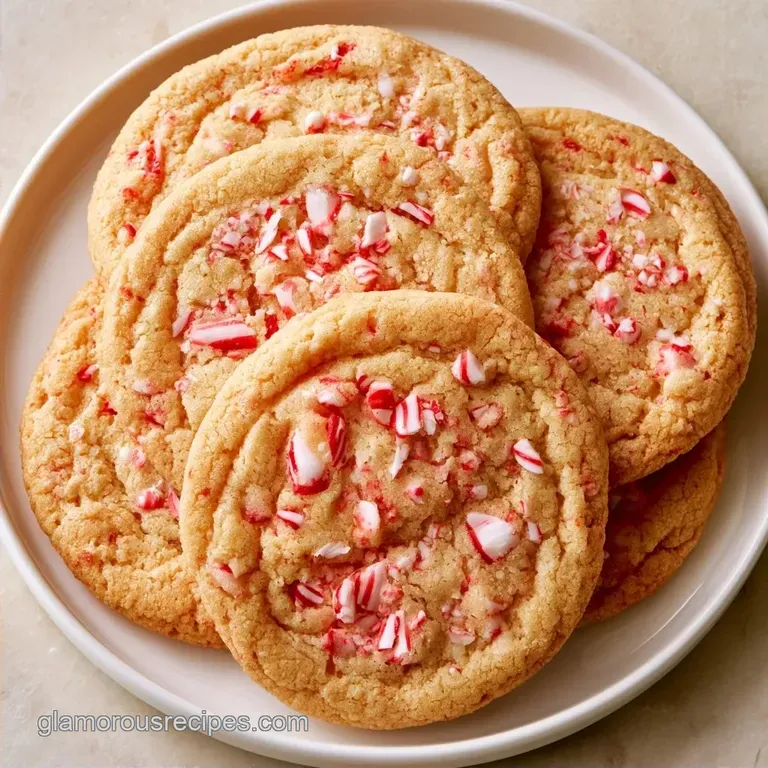
- Time: 30 min active + 15 min bake
- Flavor/Texture Hook: Buttery crumb with a sharp peppermint finish
- Perfect for: Holiday pastry platters or high end gift boxes
The smell of peppermint hitting a hot oven is, for me, the official start of December. There is something about that specific aroma that clears the mind and makes the kitchen feel like a sanctuary.
I used to struggle with holiday cookies that looked great but tasted like plain sugar, but the addition of crushed candy shards changes everything.
The real hero here is the red gel food coloring. I've tried liquid drops in the past, but they throw off the hydration of the dough, making it sticky and prone to spreading. Gel coloring is a concentrated paste, which means you get a vibrant, deep crimson without adding extra moisture.
You can expect a pastry that holds its shape with precision. These Candy Cane Cookies aren't just for show, they have a clean, buttery finish that lets the mint shine. Trust me on the gel color, it's the only way to get those sharp lines.
Classic Candy Cane Cookies
Now, let's go over the technical specifications for this bake. To achieve the desired aesthetic, you'll want to hit these precise marks.
- Butter Temperature
- 65-68°F (18-20°C). It should be pliable but not greasy.
- Rope Length
- Exactly 4 inches (10cm) to ensure a tight, elegant spiral.
- Oven Temp
- 350°F (175°C) for a set edge that stays pale.
If you are weighing your options, I've compared the rapid approach against the traditional method below.
| Feature | Fast Method | Classic Method |
|---|---|---|
| Color Palette | Single tone | Dual tone (Red/White) |
| Shaping | Round discs | Twisted spirals |
| Prep Effort | 10 minutes | 30 minutes |
Ingredient Deep Dive
The balance of fats and sugars here creates a dough that is silky and easy to manipulate. Because we are shaping these by hand, the ratio of flour to butter is calculated to prevent the "melt down" effect in the oven.
What Each Ingredient Does
| Ingredient | Role | If You Don't Have It |
|---|---|---|
| Unsalted Butter | Provides structure and richness | Salted butter (omit the extra salt) |
| Gel Food Coloring | Adds vivid color without moisture | Paste colors (avoid liquid drops) |
| All Purpose Flour | Builds the cookie's frame | Pastry flour (results in a softer bite) |
| Candy Cane Shards | Adds peppermint punch and texture | Pure peppermint extract (no crunch) |
Necessary Kitchen Tools
A professional setup isn't required, though a few key pieces of equipment can make the process easier. A stand mixer, such as a KitchenAid, is excellent for the creaming stage, but a hand mixer works just as well.
Weigh your flour with a digital scale. Measuring by the cup can pack the flour too densely, resulting in a dry, crumbly cookie that cracks when you attempt to bend it into a hook. Additionally, use a parchment lined sheet to prevent the bottoms from browning too rapidly.
The Baking Process
Preparing the Base Dough
Beat the softened butter and granulated sugar until the mixture is light and fluffy. Stir in the egg and vanilla extract. In a separate container, whisk together the flour, baking powder, and salt. Slowly blend the dry ingredients into the butter mixture until a soft, uniform dough forms.
Creating the Dual Tone Effect
Split the dough into two equal parts. Keep one part white. Gradually add red gel food coloring to the second part, one drop at a time. Knead until the dough is a deep, vibrant crimson and completely streak free.
Shaping the Candy Canes
Take 1 tsp (5g) of red dough and 1 tsp (5g) of white dough. On a lightly floured surface, roll each piece into a rope about 4 inches (10cm) long. Position the ropes side-by-side, press them together lightly, and twist into a spiral. Gently curve the top into a hook.
Baking to Perfection
Place the shaped cookies on a parchment lined baking sheet. Bake at 350°F (175°C) for 12-15 minutes until the edges are set but the tops remain pale. Immediately after removing them from the oven, sprinkle with crushed peppermint.
Chef's Note: If the dough feels too soft while shaping, place the cookies in the fridge for 10 minutes before baking to lock in the spiral.
Solving Common Problems
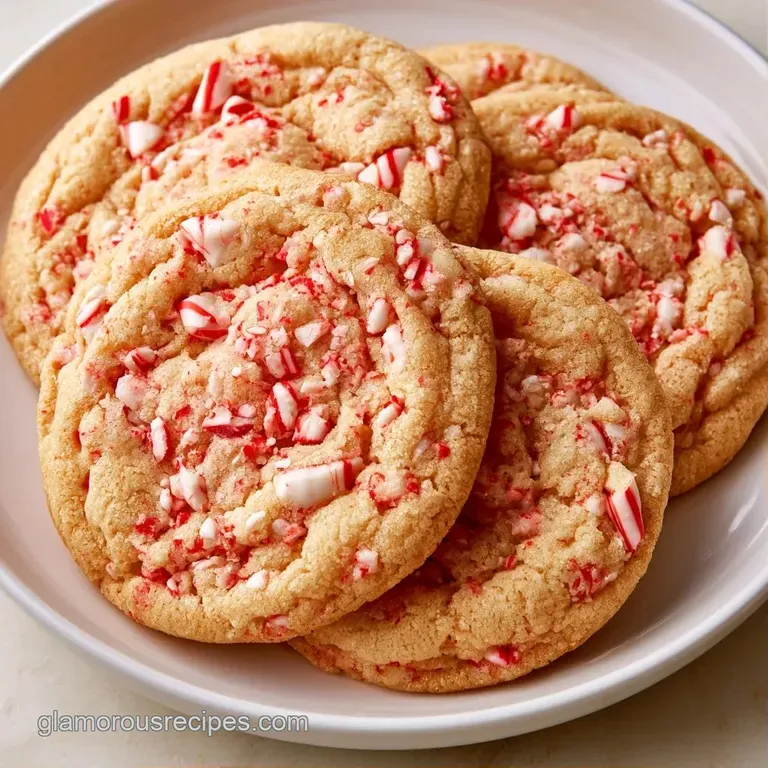
When working with dual color doughs, the biggest hurdle is maintaining the definition of the lines. If you notice the colors bleeding, it's usually because the dough was over mixed after the coloring was added.
Another common issue is the "flattening" effect. This happens when the butter is too warm. I've seen this happen even with the most precise measurements. If your cookies look more like red and white puddles than canes, check your butter temp. This is similar to the consistency issues I've noted with Chocolate Crinkle Cookies, where temperature control is everything.
Preventing Dough Spread
Keep the dough cool. If it's too tacky, the spiral will collapse.
Stopping Color Bleed
Use gel colors and avoid over kneading the red portion.
Avoiding Over Browning
Watch the bottom of the cookies. They should stay light to contrast with the red.
| Problem | Fix |
|---|---|
| Spiral collapses | Chill shaped dough for 10 mins |
| Colors blur | Use gel coloring, not liquid |
| Hard/Dry texture | Reduce flour by 1 tbsp |
New Flavor Ideas
Although peppermint is the traditional choice, this base is versatile enough for other seasonal flavors. You can mix 1/2 tsp of almond extract into the white dough to introduce a subtle nutty note.
For a different seasonal twist, substitute the peppermint in the red dough with cocoa powder, adding an extra tablespoon of flour to maintain the consistency. These high contrast treats also make a great addition to a dessert spread alongside Peanut Butter Cookies.
Decision Shortcut: Extra mint? → Mix in 1/2 tsp peppermint extract. More crunch? → Use twice the candy cane shards. Less sweet? → Lower the granulated sugar by 20g.
Storage and Waste
Keep these in a sealed glass jar in a cool, dry spot for up to 7 days. Avoid the fridge for storage, as the moisture can make the candy cane shards dissolve and become sticky.
For long term keeping, you can freeze the unbaked dough ropes. Just shape them, freeze on a tray, and then move them to a bag. Bake from frozen, adding 2 minutes to the timer.
To avoid waste, use any leftover scraps of red and white dough to make "marble" rounds. Just twist the leftover bits together and roll them into balls. They won't be canes, but they'll taste just as refined.
Perfect Serving Pairs
Since Candy Cane Cookies have a sharp, clean mint flavor, they need a partner that provides warmth or creaminess. A dark chocolate ganache dip is the obvious choice, but a warm spiced cider also works brilliantly.
The presentation is where you can really show off the precision of the twist. I like to present these at three different levels depending on the guest.
Plating Guide
| Level | Setup | Key Detail |
|---|---|---|
| Simple | White ceramic plate | Stacked in a pyramid |
| Polished | Dark slate board | Accented with red satin ribbon |
| Restaurant | White chocolate smudge | Fresh mint sprig and powdered sugar |
Hidden Baking Truths
Some details of this recipe aren't immediately apparent from the ingredients list; it's really a matter of dough physics.
Gel Stability: Since gel colors are denser than liquid dyes, the pigment doesn't bleed into the white dough, which keeps those lines looking sharp.
The Twist Bond: Pressing the ropes together before twisting creates a mechanical bond. This ensures the colors don't peel apart during the oven spring.
Debunking Baking Myths Some claim you must chill the dough for 24 hours to prevent spreading. That isn't necessary for this particular ratio of butter and flour. A quick 10 minute chill after shaping is plenty to set the fats.
Another myth is that liquid food coloring is acceptable if you add more flour. Don't do this. Extra flour makes the cookies tough and ruins the tender crumb. Stick to the gel.
Recipe FAQs
How do I make homemade candy cane cookies?
Cream butter and sugar, mix in remaining ingredients, shape the red and white dough into twists, and bake at 350°F for 12-15 minutes.
Tip: Sprinkle peppermint shards immediately after baking for the best adhesion.
Can I freeze the unbaked dough?
Shape the dough ropes and freeze them on a tray before transferring to a bag.
Tip: Add two minutes to the baking time when cooking from frozen.
Is it true that I need a professional stand mixer to cream the butter?
No, and here's why. A hand mixer or even a sturdy whisk can achieve the necessary aeration for this dough.
Tip: Ensure your butter is truly softened to room temperature to avoid lumps.
What should I do with leftover dough scraps?
Twist the leftover red and white bits together and roll them into balls for marble cookies.
Tip: Serve these alongside cinnamon sugar pecans for a complete holiday platter.
Why do my cookies spread too much?
Over creaming the butter or using too-warm dough often causes the shape to flatten.
Tip: Chill the shaped canes for 15 minutes before baking to maintain the spiral.
Candy Cane Cookies