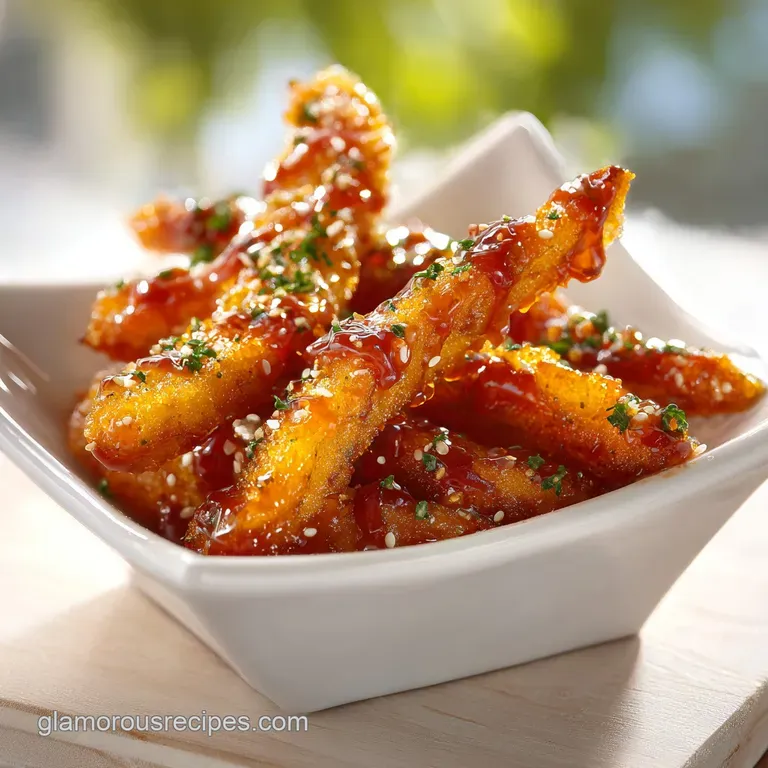
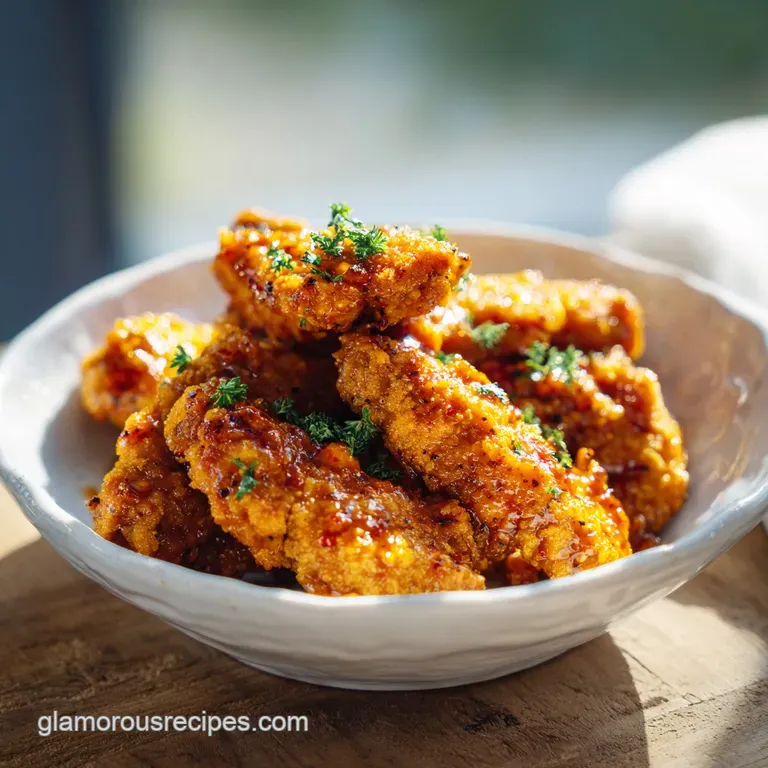
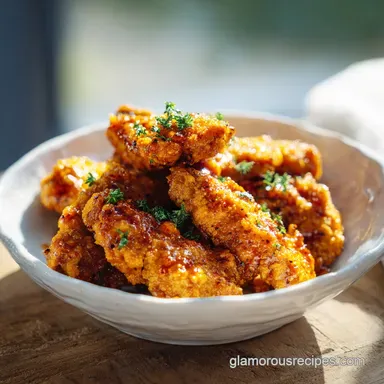
Sticky Chicken Tenders: Honey Garlic Glaze
- Time: Active 15 minutes, Passive 15 minutes, Total 30 minutes
- Flavor/Texture Hook: Shatter crisp breading paired with a velvety, sweet and savory glaze
- Perfect for: Sunday dinners, game day snacks, or a comforting weeknight treat
- Master the Ultimate Sticky Chicken Tenders
- Essential Recipe Specifications
- Selecting Your Ingredients
- Required Kitchen Tools
- Step-by-Step Cooking Guide
- Solving Common Recipe Issues
- Dietary and Flavor Adaptations
- Storing and Reheating Guide
- Best Serving Suggestions
- High in Sodium ⚠️
- Recipe FAQs
- 📝 Recipe Card
Master the Ultimate Sticky Chicken Tenders
The sound of chicken hitting a hot baking sheet is the music of my kitchen. I remember the very first time I tried making these, I was convinced the sauce would turn the breading into a soggy, sad mess within seconds. I stood over the counter, heart racing, ready to be disappointed, but then I took that first bite.
The crunch was so loud it practically echoed, even through a thick, glossy layer of honey and soy.
Honestly, I used to just buy the frozen bags from the store, but once you realize how easy it is to get that restaurant style "sticky" factor at home, there is no going back. It has become a bit of a sacred tradition for our Sunday dinners.
My friends literally text me "Sticky Tenders tonight?" before I have even had my morning coffee. We are going for a specific vibe here: the kind of chicken that leaves your fingers a little tacky and your heart very full.
You do not need a deep fryer or a fancy culinary degree to pull this off, just a few tricks to keep that Panko from quitting on you once the sauce hits. We are going to use high heat and a few science backed steps to ensure the glaze stays on the outside while the meat stays tender on the inside.
It is all about the balance of textures, the "shatter" of the crust against the silky smoothness of the reduction. Let's get into the specifics of why this method actually works.
Science of the Crunch
Starch Gelatinization: When the cornstarch in the sauce heats up with liquid, it creates a molecular mesh that traps water, resulting in a thick, velvety coating that clings instead of running off.
Panko Porosity: The airy, jagged structure of Panko breadcrumbs provides a massive amount of surface area for the sauce to grip without immediately soaking through to the meat.
Maillard Reaction: over High heat baking at 400°F (200°C) browns the chicken proteins and Panko, creating deep savory notes that perfectly balance the high sugar content of the honey.
| Thickness | Internal Temp | Rest Time | Visual Cue |
|---|---|---|---|
| 1 inch (2.5 cm) | 165°F (74°C) | 3 minutes | No longer pink, juices run clear |
| 0.5 inch (1.3 cm) | 165°F (74°C) | 2 minutes | Firm to the touch, golden crust |
Essential Recipe Specifications
When we talk about Sunday dinners, we talk about consistency. I have made the mistake of winging the cook times before, and let me tell you, dry chicken is a heartbreak no one needs. This recipe is designed to be fast, but the precision in the temperatures is what separates a good meal from a "masterclass" meal.
By using the wire rack method, you are ensuring that heat hits every side of the strip, preventing that dreaded "soggy bottom" that happens when chicken sits directly on a pan.
| Method | Total Time | Texture | Best For |
|---|---|---|---|
| Air Fryer | 25 minutes | Extra shatter crisp | Quick weeknight cravings |
| Oven Baked | 30 minutes | Evenly browned | Feeding a larger crowd |
If you are cooking for a crowd, the oven is your best friend. If it is just you and a friend watching the game, the air fryer provides a slightly more aggressive crunch. Both methods work beautifully with the honey garlic reduction we are about to build.
Selecting Your Ingredients
The alchemy of a great glaze starts with the quality of your honey and soy. I always reach for low sodium soy sauce because it gives me total control over the salt levels. If you use the full salt version, the reduction can become unpleasantly sharp as the water evaporates.
For the chicken, I prefer fresh breasts cut into strips, but you can certainly use pre cut tenders if you are short on time.
- 1.5 lbs chicken breast, cut into 1 inch strips Why this? Lean protein that cooks fast and stays tender in strip form.
- 1.5 cups Panko breadcrumbs (Sub: Crushed cornflakes) Why this? Jagged surface area is key for the "sticky" grip.
- 2 large eggs (Sub: 1/4 cup heavy cream)
- 1 tbsp water (Sub: Milk)
- 1 tsp garlic powder (Sub: Onion powder)
- 1 tsp smoked paprika (Sub: Chili powder)
- 0.5 tsp sea salt (Sub: Kosher salt)
- 0.5 tsp black pepper (Sub: White pepper)
- Olive oil spray (Sub: Avocado oil spray)
- 1/3 cup raw honey (Sub: Maple syrup) Why this? Provides the thick, tacky foundation for the glaze.
- 1/4 cup low sodium soy sauce (Sub: Tamari)
- 3 cloves garlic, minced (Sub: 1 tsp garlic paste)
- 1 tsp fresh ginger, grated (Sub: 0.5 tsp ground ginger)
- 1 tsp Sriracha (Sub: Red pepper flakes)
- 1 tbsp rice vinegar (Sub: Apple cider vinegar)
- 1 tsp cornstarch (Sub: Arrowroot powder)
- 1 tbsp cold water (Sub: Cold broth)
| Ingredient | Science Role | Pro Secret |
|---|---|---|
| Raw Honey | Hygroscopic Sweetener | Use a darker honey for a more intense, floral depth |
| Panko | Structural Crunch | Toast them in a dry pan for 2 mins for extra color |
| Rice Vinegar | Acid Balance | It cuts through the sugar to brighten the entire palate |
Making sure your ginger is fresh makes a world of difference. That zesty, slightly spicy bite cuts through the sweetness of the honey in a way that the powdered stuff just cannot replicate.
Required Kitchen Tools
You do not need much, but a wire rack is the one piece of equipment I insist on. It allows the hot air to circulate under the chicken, which "fries" the bottom of the tender at the same time as the top.
Without it, you will have to flip the chicken halfway through, and you risk knocking off that beautiful Panko coating before it has a chance to set.
- Baking Sheet: Large enough to hold the chicken without crowding.
- Wire Cooling Rack: To be placed inside the baking sheet.
- Small Saucepan: For simmering that liquid gold glaze.
- Three Shallow Bowls: To set up your dredging station.
- Meat Thermometer: To ensure we hit exactly 165°F (74°C).
Chef's Tip: Freeze your chicken for about 10 to 15 minutes before you slice it. It firms up the meat just enough so that your knife glides through, giving you those uniform 1 inch strips that cook at the exact same rate.
step-by-step Cooking Guide
1. Prep and Breading Steps
Start by preheating your oven to 400°F (200°C). While that warms up, set up your station. Pat the 1.5 lbs of chicken strips completely dry with paper towels. Note: If they are wet, the egg wash will slide right off like a raincoat.
In the first bowl, whisk the 2 eggs with 1 tbsp of water. In the second bowl, combine 1.5 cups Panko with the garlic powder, smoked paprika, salt, and pepper.
Dip each strip into the egg wash, let the excess drip off, then press it firmly into the Panko. Note: Do not just toss them; actually press the crumbs into the meat with your palms to anchor them.
2. High Heat Baking Phase
Place the breaded strips onto the wire rack set over your baking sheet. Give them a generous misting of olive oil spray. Note: This fat is what makes the Panko turn golden and "shatter" rather than just drying out and tasting like cardboard.
Bake for 15 minutes until the crust is golden and you hear a faint sizzle. While they bake, we move to the stove.
3. Sauce Reduction Method
In your small saucepan, combine 1/3 cup honey, 1/4 cup soy sauce, minced garlic, ginger, Sriracha, and rice vinegar. Bring this to a simmer over medium heat. Note: The aroma should be sharp and sweet, catching in the back of your throat. In a tiny bowl, mix 1 tsp cornstarch with 1 tbsp cold water to make a slurry.
Whisk this into the bubbling sauce.
Continue whisking for about 2 minutes until the liquid turns from cloudy to a clear, velvety glaze that coats the back of a spoon.
4. Coating and Serving
Once the chicken is done, remove it from the oven. Place the hot tenders into a large mixing bowl. Pour that warm, thick sauce over the top. Use a rubber spatula to gently fold the chicken in the sauce. Note: Be gentle here; we want to coat the Panko, not scrape it off.
Serve immediately while the contrast between the hot, crunchy breading and the cool, tacky sauce is at its peak.
Solving Common Recipe Issues
Why Your Breading Falls Off
This is the most common heartbreak in the kitchen. Usually, it is because the chicken was too damp before it hit the egg wash. If there is a layer of moisture on the meat, the "glue" (the egg) cannot bond to the protein.
Another culprit is skipping the oil spray; without that little bit of fat, the breading stays loose and brittle.
| Problem | Root Cause | Solution |
|---|---|---|
| Soggy Tenders | Sauce was too thin | Simmer until it heavily coats a spoon before tossing |
| Burnt Garlic | Sauce heat too high | Keep the simmer gentle; garlic sugars burn fast |
| Bland Coating | No salt in Panko | Season the crumbs directly, not just the meat |
Sauce Not Thickening?
If your sauce looks more like a soup than a glaze, your cornstarch slurry might have been added to liquid that was not hot enough. Cornstarch needs to hit near boiling temperatures to "bloom" and create that thick structure.
If it is still thin, simmer it for another minute, or add a tiny bit more slurry, but go slow it thickens more as it cools slightly.
- ✓ Pat chicken completely dry before breading (prevents "steaming" the crust).
- ✓ Use a wire rack to allow 360 degree air circulation.
- ✓ Never use warm water for a cornstarch slurry (it will clump).
- ✓ Wait to toss in sauce until the very second you are ready to eat.
- ✓ Preheat your oven for at least 15 minutes to ensure a true 400°F (200°C).
Dietary and Flavor Adaptations
Making it gluten-free
This is a very easy fix. Swap the Panko for gluten-free breadcrumbs or even crushed pork rinds for an extra savory kick. Make sure your soy sauce is replaced with Tamari or liquid aminos. The honey and ginger will still provide that signature velvety finish that makes this dish so sacred in our house.
| Premium | Budget | Flavor Impact | Savings |
|---|---|---|---|
| Fresh Ginger Root | Ginger Paste | Slightly less "zing" | Save $2 |
| Raw Local Honey | Clover Honey | Less floral complexity | Save $4 |
| Chicken Breast | Chicken Thighs | Juicier, but more trimming | Save $3-5 |
If you are looking for a lower carb option, you can actually skip the breading entirely and just sear the chicken strips in a pan before tossing them in the sauce. You lose the "shatter" factor, but the flavor is still incredible. For another fast weeknight option, you might like the technique used in my Teriyaki Chicken Broccoli recipe.
Storing and Reheating Guide
Store any leftovers in an airtight container in the fridge for up to 3 days. However, be warned: the sauce will eventually soften the breading. To bring these back to life, do not even think about using the microwave it will turn them into rubber.
Instead, use an air fryer at 350°F (180°C) for about 4 to 5 minutes, or a toaster oven until they are hot and bubbling.
For a zero waste approach, take any leftover chicken and chop it up into small bits. It makes a fantastic topper for a crunchy Asian inspired salad the next day. If you have extra sauce at the bottom of the bowl, drizzle it over some plain white rice or steamed green beans.
It is basically liquid gold, so do not let a single drop go to waste.
Best Serving Suggestions
In my house, we usually serve these with a side of cool, creamy coleslaw to cut through the richness of the honey. If you want a full Sunday dinner spread, they pair beautifully with a simple jasmine rice or even some garlic butter noodles.
For a bit of variety, you could try the side pairing ideas from my Chicken Meatballs with recipe — the orzo provides a nice textural contrast to the crispy chicken. If you are feeling extra, a sprinkle of toasted sesame seeds and some sliced green onions on top of the tenders adds a pop of color and a fresh, sharp finish that looks just as good as it tastes.
Debunking Kitchen Myths
"Searing meat seals in the juices." This is a classic one, but it is actually false. Moisture loss happens regardless of searing; what you are actually doing is creating the Maillard reaction for flavor. The "seal" is an illusion, but the crust it creates is vital for the sauce to have something to hold onto.
"You must use a lot of oil for crispy chicken." Not true! By using Panko and a wire rack, the high circulating heat of the oven does the heavy lifting. A simple spray of olive oil is all you need to get that golden, shatter crisp texture without the heavy grease of deep frying.
"Fresh garlic and jarred garlic are the same." In a quick reduction like this, jarred garlic can sometimes taste bitter or metallic. Because the sauce is the star of the show, taking the two minutes to mince fresh cloves is what gives you that sweet, aromatic punch that makes these Sticky Chicken Tenders truly better than takeout.
Trust me on this one; your taste buds will thank you.

High in Sodium ⚠️
1125 mg mg of sodium per serving (49% of daily value)
The American Heart Association recommends limiting sodium intake to about 2,300mg per day for overall cardiovascular health.
Easy Sodium Reduction Tips
-
Low-Sodium Soy Sauce Swap-20%
Replace the regular low-sodium soy sauce with a no-sodium soy sauce alternative or coconut aminos. This is a significant source of sodium in the recipe.
-
Reduce Added Salt-15%
Reduce the amount of sea salt by half, from 0.5 tsp to 0.25 tsp. Taste and adjust after cooking if needed.
-
Adjust Honey Amount-10%
Consider using a bit more honey, only if needed, to compensate for the reduction in salt and soy sauce, enhancing the sweetness and flavor profile naturally.
-
Control Sriracha-10%
Use less Sriracha, or replace with a low-sodium chili garlic sauce or flakes. Sriracha can contain a surprising amount of sodium.
-
Flavor Boost
Enhance flavor with sodium free herbs and spices! Use combinations of onion powder, dried oregano, dried basil, or red pepper flakes to boost flavor without adding sodium.
Recipe FAQs
How to make your chicken sticky?
Reduce the sauce until velvety. The stickiness comes from reducing the glaze aggressively with cornstarch until it coats the back of a spoon heavily.
What does it mean when your chicken is sticky?
It means the glaze adheres completely without running off. A truly sticky glaze has been reduced sufficiently so the starches thicken and cling to the Panko coating.
What is the best thing to marinate chicken tenders in?
Skip the traditional marinade and focus on a dry breading. For these tenders, the best "prep" is ensuring the meat is dry before it hits the egg wash and Panko coating.
How to get coating to stick to chicken tenders?
Press the Panko firmly onto the egg-washed meat. Use a three step dredging process: dip in egg, shake off excess, then press aggressively into the seasoned Panko crumbs.
Is it true you must deep fry tenders to get them crispy?
No, high heat baking on a wire rack works perfectly. Spraying the breading lightly with oil while it rests on the rack allows hot air to circulate, achieving a brittle, shatter like crust.
How do I prevent the sauce from making the coating instantly soggy?
Toss the hot, crispy tenders in the warm glaze immediately before serving. This minimal contact time allows the crust to absorb flavor without dissolving completely, preserving texture.
What can I use instead of honey for the glaze base?
Substitute with maple syrup for a similar tacky sweetness. If you master the technique of balancing sweet and acid here, you'll find the principles apply well to savory sauces like those in our Beef and Broccoli recipe.
Sticky Chicken Tenders Recipe
Ingredients:
Instructions:
Nutrition Facts:
| Calories | 523 kcal |
|---|---|
| Protein | 59.7 g |
| Fat | 11.1 g |
| Carbs | 43.8 g |
| Fiber | 1.2 g |
| Sugar | 23.5 g |
| Sodium | 1125 mg |
