Chocolate Peanut Butter Protein Bar: Fudgy & Snappy
- Time: Active 15 minutes, Passive 30 minutes, Total 45 minutes
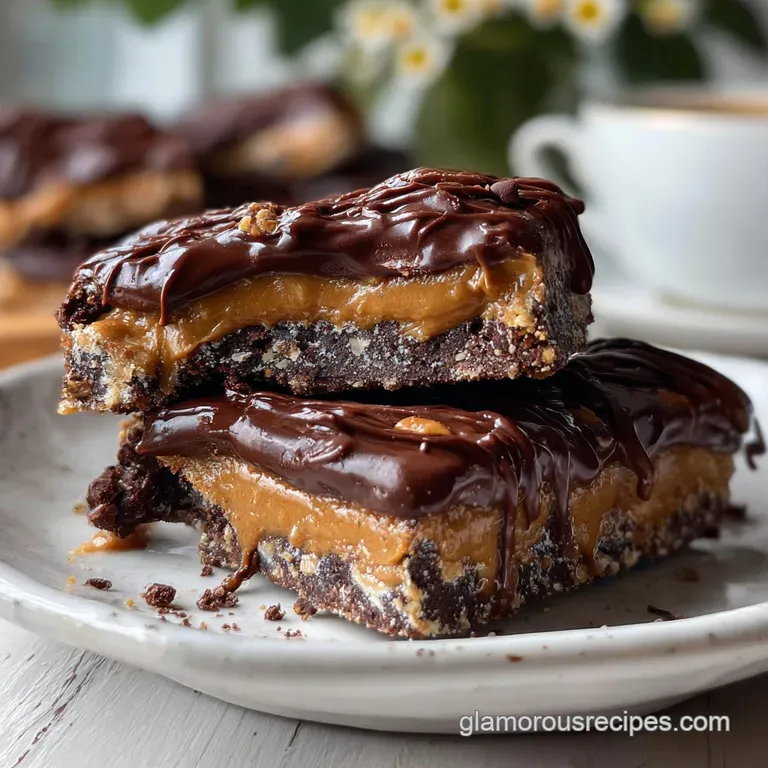
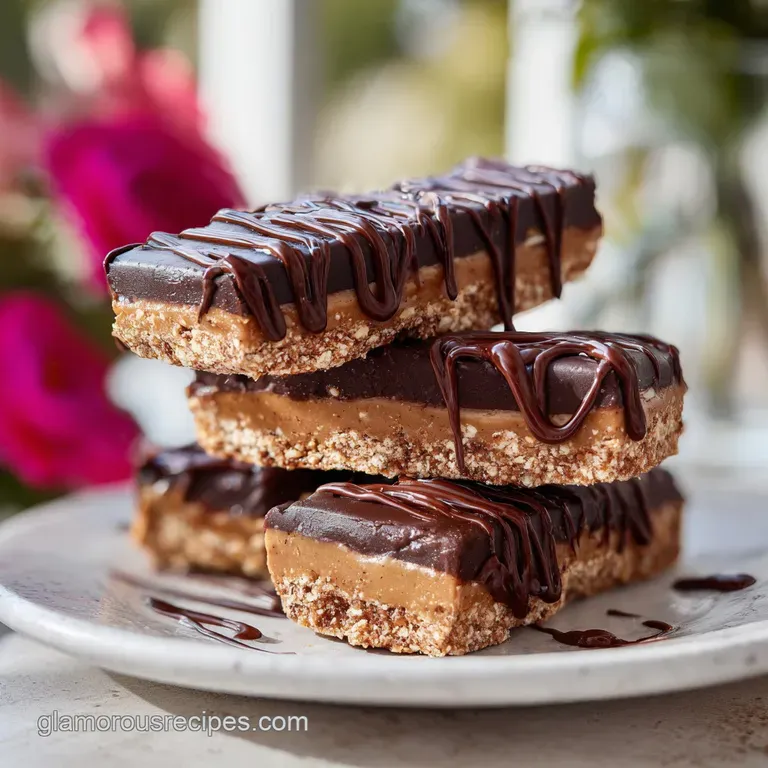
- Flavor/Texture Hook: Fudgy peanut butter base with a chocolate shatter
- Perfect for: Post workout recovery, school lunchboxes, or busy meal preppers
- Make the Ultimate Chocolate Peanut Butter Protein Bar
- The Science of the Bind
- Comparing Making Methods
- Ingredient Deep Dive
- Essential Ingredients and Smart Substitutes
- Tools for a Seamless Prep
- Step-by-Step Guide to Success
- Solving Common Bar Making Issues
- Adjusting the Batch Size
- Customizing Your Homemade Protein Snacks
- Storing and Preserving Your Batch
- Serving Ideas for Busy Days
- Debunking Protein Bar Misconceptions
- Recipe FAQs
- 📝 Recipe Card
Make the Ultimate Chocolate Peanut Butter Protein Bar
There is a very specific sound that happens when you crack into a tray of these bars a satisfying, crystalline "snap" as the chilled dark chocolate yields to your knife. I remember the first time I nailed the ratio; I was standing in my kitchen at 9 PM, exhausted from a long shift, dreading the expensive, rubbery bars I usually threw in my gym bag.
The aroma of warm honey and roasted peanuts filled the room, and I knew I’d never go back to the foil wrapped stuff again.
This article unveils a simple, scrumptious recipe for an Easy Delicious Homemade Chocolate Protein Bar Snack with Peanut Butter. We are talking about a texture that is velvety and rich, almost like a piece of fudge, but packed with enough fiber and protein to actually sustain your energy levels.
It’s the kind of snack that makes you feel like a nutritionist and a pastry chef all at once.
We have all been there: buying a "healthy" bar only to realize it tastes like sweetened cardboard. This recipe fixes that by focusing on hydration and fat to protein ratios. You are going to learn how to create a base that stays soft in the fridge but firm in your hand, topped with a chocolate glaze that doesn't crumble into a mess when you take a bite.
Trust me, your mid afternoon cravings aren't ready for how good this is.
The Science of the Bind
Protein Hydration: Protein powder acts as a hydrocolloid, absorbing moisture from the honey and peanut butter to create a stable, chewy matrix.
Fat Crystallization: Adding coconut oil to the chocolate glaze lowers the melting point slightly, ensuring a velvety mouthfeel rather than a rock hard shell.
Comparing Making Methods
| Method | Time | Texture | Best For |
|---|---|---|---|
| Freezer Chill | 20 minutes | Firm & Snappy | Immediate Cravings |
| Fridge Set | 1 hours | Fudgy & Chewy | Best Flavor Depth |
| Room Temp | 4 hours | Soft & Pliable | Soft Bar Lovers |
Using a freezer chill is a great shortcut, but the fridge set allows the oat flour to fully hydrate, which improves the overall digestion and mouthfeel of the final bar. This slight patience pays off in a bar that doesn't feel gritty.
For those looking to expand their repertoire of nutritious treats, you might find that the base of this recipe shares a similar satisfying chew with my Protein Balls recipe. Both rely on high-quality fats to carry the flavor.
Ingredient Deep Dive
| Ingredient | Science Role | Pro Secret |
|---|---|---|
| Natural Peanut Butter | Primary Emulsifier | Stir the oil in completely for a smooth, consistent base |
| Oat Flour | Structural Fiber | Toast it in a pan for 5 minutes to add a nutty aroma |
| Protein Powder | Nitrogen Source | Use a whey casein blend for the thickest, most fudge like result |
| Honey | Hygroscopic Binder | Gently warm it to help it incorporate without over mixing |
Essential Ingredients and Smart Substitutes
To get that specific texture we’re after, you’ll need a few pantry staples. I always recommend using a "real food" approach meaning we want the shortest ingredient list possible while still hitting those macro targets.
This Homemade Chocolate Protein Bar Snack with Peanut Butter relies on the quality of your nut butter, so look for the kind where the only ingredients are peanuts and salt.
- 1 cup natural creamy peanut butter (250g): Use almond butter for a more neutral flavor. Why this? Provides the essential healthy fats and creamy texture.
- 0.5 cup honey or maple syrup (160g): Brown rice syrup works well for a stickier bar. Why this? The "glue" that holds the dry ingredients together.
- 1 tsp vanilla extract: Almond extract for a cherry like undertone.
- 0.75 cup vanilla or chocolate protein powder (90g): Collagen peptides (use 1 cup) for a lighter texture. Why this? Boosts the nitrogen content and helps thicken the dough.
- 1.25 cups oat flour (150g): Almond flour for a lower carb, denser crumb. Why this? Provides complex carbohydrates and essential structure.
- 0.25 tsp sea salt: Finely ground pink salt for a subtle mineral pop.
- 1 cup dark chocolate chips, 70% cacao (175g): sugar-free chocolate chips for keto friendly batches.
- 1 tbsp coconut oil (15g): Butter or ghee for a richer, dairy forward taste.
- 1 tsp flaky sea salt: Smoked salt for a sophisticated finish.
Tools for a Seamless Prep
You don't need a high end stand mixer to pull this off; in fact, I prefer the tactile feel of mixing these by hand to ensure I don't overwork the dough. A sturdy silicone spatula is your best friend here because the mixture gets incredibly thick and "grabby" once the protein powder hits the wet ingredients.
You’ll also want an 8x8 inch baking pan. If you only have a 9x5 loaf pan, that works too, though your bars will be much thicker almost like protein bricks! Lining the pan with parchment paper is non negotiable.
I like to leave a little "overhang" on the sides so I can lift the entire block out once it's set. It makes slicing a total breeze and keeps the chocolate top from cracking against the sides of the pan.
Chef Tip: Freeze your parchment paper for 60 seconds before lining the pan. It kills the static and makes it lay much flatter against the corners!
step-by-step Guide to Success
- Line your pan. Place parchment paper in an 8x8 inch pan. Note: This prevents sticking and allows for easy removal.
- Combine wet ingredients. Whisk 1 cup natural creamy peanut butter, 0.5 cup honey, and 1 tsp vanilla until the mixture is glossy and uniform.
- Whisk dry components. In a separate bowl, stir 0.75 cup protein powder, 1.25 cups oat flour, and 0.25 tsp sea salt. Note: Sifting prevents protein clumps.
- Fold the dough. Add dry ingredients to the wet and stir until a thick, matte paste forms.
- Press the base. Transfer the dough to the pan and press firmly until the surface is level and reaches all corners.
- Melt the coating. Heat 1 cup dark chocolate chips and 1 tbsp coconut oil in 30 second intervals until velvety and pourable.
- Apply the glaze. Pour the chocolate over the base and tilt the pan until the entire surface is enrobed in chocolate.
- Add the finish. Sprinkle 1 tsp flaky sea salt over the wet chocolate.
- Chill to set. Refrigerate for 30 minutes until the chocolate is firm to the touch.
- Slice and store. Lift the parchment out and cut into 12 bars using a warm knife.
The texture of this Delicious Homemade Chocolate Protein Bar Snack with Peanut Butter is far superior to anything in a wrapper. If you enjoy the combination of chocolate and nuts, you might also want to try my Chocolate Peanut Clusters recipe for a smaller, bite sized treat.
Solving Common Bar Making Issues
Making protein bars at home can sometimes result in a crumbly mess if the ratios are off. The most common culprit is usually the protein powder itself; different brands have different absorption rates. If you find your dough is too dry, don't panic.
Just add a teaspoon of water or dairy-free milk at a time until it holds together when squeezed.
The "Crumbly Mess" Fix
If your bars fall apart the moment you pick them up, the "bind" didn't happen. This usually means the oat flour was too dry or the peanut butter didn't have enough natural oil.
Solving the "Sticky Finger" Issue
On the flip side, if the bars stay gooey even after chilling, you likely had a very runny honey or used a low protein flour substitute. The chocolate top helps, but you need a solid base for this Bar Snack with Peanut Butter to be portable.
Avoiding "Chocolate Cracking"
Nothing is more frustrating than a beautiful chocolate topping shattering into a million pieces when you try to cut it. This happens when the chocolate is too cold and lacks elasticity.
| Problem | Root Cause | Solution |
|---|---|---|
| Bars are too dry | Over measured protein powder | Add 1-2 tsp of warm water to the dough |
| Chocolate shatters | No fat in the glaze | Always add coconut oil to the chocolate chips |
| Sticky base | Too much liquid sweetener | Increase oat flour by 2 tablespoons |
Common Mistakes Checklist
- ✓ Use "drippy" natural peanut butter rather than the stiff, no stir kind.
- ✓ Wipe your knife with a warm, damp cloth between every single cut for clean edges.
- ✓ Press the dough into the pan with the bottom of a flat measuring cup for evenness.
- ✓ Don't skip the coconut oil; it’s the secret to that velvety chocolate bite.
- ✓ Ensure your protein powder isn't expired, as it can develop a bitter "off" taste.
Adjusting the Batch Size
If you are cooking for a larger family or want to stock the freezer for a month, you can easily double this recipe. Just use a standard 9x13 inch baking pan. When doubling, I suggest keeping the salt at 1.5x rather than a full 2x to ensure the Bar Snack with Peanut Butter doesn't become overly savory.
For a smaller batch (6 bars), use a standard loaf pan. You’ll want to reduce the chilling time slightly since the thermal mass is smaller. If you find yourself with leftover ingredients, they work beautifully in a High Protein Snack recipe which uses similar ratios but in a different format.
Customizing Your Homemade Protein Snacks
The "No Powder" Alternative
If you aren't a fan of protein supplements, you can swap the powder for additional oat flour or almond meal. Just keep in mind that the protein count will drop, and you may need an extra tablespoon of honey to compensate for the loss of sweetness usually found in flavored powders.
Plant Based Power Swap
To make this fully vegan, ensure you are using maple syrup instead of honey. Most dark chocolates are naturally dairy-free, but always double check the label on your chocolate chips.
A soy or pea based protein powder works excellently here, though it may require a tiny bit more liquid as plant proteins are more absorbent than whey.
The Crunch Factor Twist
While I love the velvety texture of the original, sometimes you want a bit of "bite." Stir in 1/4 cup of crushed pretzels or cocoa nibs into the base. It transforms this Homemade Chocolate Protein Bar Snack with Peanut Butter into something that feels more like a gourmet candy bar.
Storing and Preserving Your Batch
Because this recipe uses natural peanut butter and no preservatives, these bars are best kept in the refrigerator. At room temperature, the coconut oil in the chocolate will begin to soften, and the bars can become a bit "tacky" to the touch.
In the fridge, they stay perfectly fudgy for up to 10 days in an airtight container.
For long term storage, these freeze beautifully. I recommend wrapping each bar individually in parchment paper and then placing them all in a heavy duty freezer bag. They will stay fresh for up to 3 months.
When you're ready to eat one, just let it sit on the counter for 5-10 minutes, or eat it straight from the freezer for a "frozen fudge" experience.
Serving Ideas for Busy Days
These aren't just for the gym! I love serving them alongside a sharp espresso in the morning. The bitterness of the coffee cuts through the richness of the peanut butter perfectly. If you're feeling fancy, you can drizzle a little extra melted peanut butter over the top of the set chocolate for a "pro" look.
If you’re hosting a brunch or a healthy get together, cut them into smaller 1 inch squares rather than full bars. They look stunning on a platter and serve as a great conversation starter about how easy it is to make Delicious Homemade Chocolate Protein Bar Snack with Peanut Butter from scratch.
Debunking Protein Bar Misconceptions
One common myth is that you need a "binding" oven bake to make a bar shelf stable. In reality, the combination of honey and cold pressed fats creates a natural shelf stability that lasts for days without heat. Searing or baking these would actually dry out the protein and make them tough.
Another misconception is that "low-fat" peanut butter is better for you in these recipes. Honestly, don't even bother with the low-fat stuff. The healthy fats in natural peanut butter are what provide the satiety and the smooth texture.
Without them, you’d end up with a chalky brick that no amount of chocolate could save.
If you ever find yourself craving a more traditional baked treat after mastering these, my Peanut Butter Cookies recipe is the perfect next step for your kitchen adventures. It uses similar flavor profiles but explores the chemistry of the oven. Enjoy the process, and let those bars set properly it's worth the wait!

Recipe FAQs
Can I substitute whey protein powder with collagen peptides?
Yes, but adjust other liquids. Collagen peptides absorb less moisture than whey, resulting in a slightly softer final bar, so you may need to add an extra tablespoon of oat flour for structure.
How to prevent the chocolate coating from shattering when slicing?
Add coconut oil to the melting chocolate. This ingredient lowers the melting point and increases the flexibility of the shell, preventing it from snapping brittlely when chilled.
Is it true that mixing these bars too much will make them tough?
No, this is a common misconception with protein bars. Since there is no gluten development like in bread, you need to mix thoroughly until fully combined; just stop once the dry ingredients are incorporated into the thick base.
How long should the bars chill before slicing cleanly?
Refrigerate for a minimum of 30 minutes. For the cleanest slices, use a large, warm knife and wipe it between cuts to prevent the sticky peanut butter matrix from pulling the chocolate layer.
How to make this recipe vegan and dairy-free?
Swap honey for maple syrup or brown rice syrup. Ensure your chosen protein powder is plant based (pea or soy), as most dark chocolate chips are already dairy-free.
What is the best way to store leftovers long term?
Wrap individually and freeze for up to 3 months. Freezing locks in the texture, and the high fat content prevents freezer burn effectively; they taste great eaten straight from the freezer.
How to improve the "fudgy" texture if my base seems dry?
Incorporate a teaspoon of warm water or milk slowly. The dough needs enough hydration to bind the powders; if you struggle with dryness, check out the stability principles in our Chocolate Dipped Marshmallows recipe to see how moisture affects final texture.
Peanut Butter Protein Bars

Ingredients:
Instructions:
Nutrition Facts:
| Calories | 338 kcal |
|---|---|
| Protein | 13.7 g |
| Fat | 19.0 g |
| Carbs | 30.8 g |
| Fiber | 3.8 g |
| Sugar | 15.1 g |
| Sodium | 135 mg |
