Cuisinart Ice Cream Recipes: the Ultimate Rich Salted Caramel Dessert
- Decoding the Dream: Mastering Rich Cuisinart Ice Cream Recipes at Home
- The Science of Scoopability: Why This French-Style Ice Cream Excels
- Essential Elements: Ingredients for the Ultimate Salted Caramel and Vanilla Bean Cuisinart Ice Cream Recipes
- Method and Timing: Churning the Base in Your Cuisinart Ice Cream Maker
- Expert Tips and Troubleshooting: Ensuring Flawless Cuisinart Ice Cream
- Perfecting the Finale: Hardening, Storage, and Serving
- Recipe FAQs
- 📝 Recipe Card
Decoding the Dream: Mastering Rich Cuisinart Ice Cream Recipes at Home
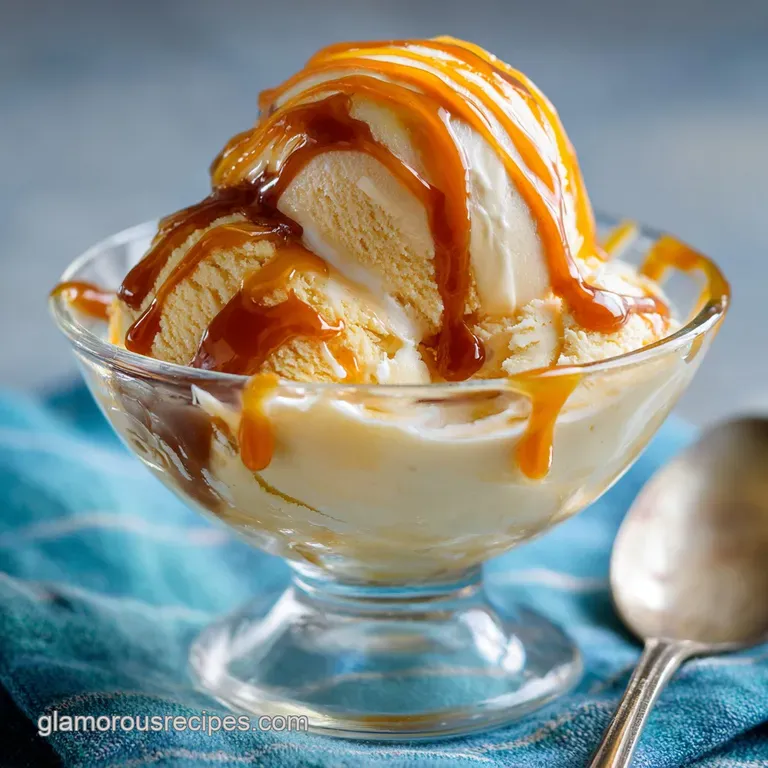
Oh my gosh, you have to try this. When you pull a fresh batch of this homemade salted caramel vanilla bean ice cream from the Cuisinart, the texture is just mind blowing. It's incredibly creamy, so rich it feels like silk on your tongue, and the aroma of real vanilla and burnt sugar is intoxicating.
Forget those weird chemical notes you get from store-bought stuff; this is the real deal.
Using the Cuisinart ice cream maker truly makes this project a lifesaver, especially if you crave high-quality desserts without the hefty price tag. We are skipping the expensive artisanal pints and creating something better right here in your own kitchen.
The initial prep takes less than 30 minutes, and then your magical little machine handles the heavy lifting, delivering perfect soft serve consistency every time.
This isn't just about throwing milk and sugar into a bowl; we are crafting a French style crème anglaise base, which is the foundation of true decadence. Trust me, once you master this Cuisinart classic, your freezer will never be stocked with store-bought ice cream again. Let's get churning!
The Science of Scoopability: Why This French Style Ice Cream Excels
Why the Crème Anglaise Base Changes Everything
The secret weapon in the world of high end Cuisinart ice cream recipes is the custard base, or crème anglaise . Traditional American ice cream often uses just milk and cream, but we introduce egg yolks here.
These yolks act as powerful emulsifiers, binding the fat and water together seamlessly and preventing the formation of large, unpleasant ice crystals when frozen.
The Unbeatable Convenience of the Cuisinart Ice Cream Maker
The Cuisinart machine, with its specialized frozen bowl, is engineered for speed, which is crucial for texture. Because the base freezes so rapidly during the 20 25 minute churn cycle, the water molecules don't have time to group up.
This results in the famously smooth texture of Cuisinart ice cream recipes without needing specialty chemical stabilizers.
An Overview of the Salted Caramel Swirl Flavour Profile
We aren't just adding sticky syrup; we’re integrating a proper, deep caramel that provides a delicious chew and salty contrast. By using flaky sea salt in the caramel ripple, you get pockets of intense saltiness that cut through the richness of the vanilla custard base beautifully.
This contrast makes every bite interesting.
Optimizing the Fat Content for a Velvety Mouthfeel
Fat is your friend in ice cream making. This specific recipe uses a high ratio of heavy cream to whole milk, boosting the overall butterfat percentage. High fat content naturally lowers the freezing point of the mixture, ensuring the final product stays softer and easier to scoop straight out of the deep freeze.
It's the key to velvety, rather than brittle, ice cream.
Preventing Icy Crystals: The Role of the Egg Yolk Custard
The yolks not only emulsify, but the proteins and fat contained within them essentially act as anti freeze. They interrupt the structure of ice crystal growth. If you've ever had disappointing, brittle homemade ice cream, it was probably due to a low-fat base or a lack of emulsification. We fixed that problem right here. For another dessert that hinges on a perfectly creamy base, you must try my recipe for Arroz con leche: The Definitive, Creamy Spanish Rice Pudding Recipe .
Low Overrun: Achieving Professional Density in Your Cuisinart
"Overrun" is the amount of air incorporated during churning. The Cuisinart generally incorporates less air than commercial machines, resulting in a denser, heavier, and more luxurious final product. That professional, heavy scoop you crave? That comes from a good base and that quick, aggressive Cuisinart churn.
Essential Elements: Ingredients for the Ultimate Salted Caramel and Vanilla Bean Cuisinart Ice Cream Recipes
You need to start with the best dairy you can find for this. Skimping on ingredients just gives you disappointing ice cream, and nobody wants that, right? Here are the heroes of our recipe and some helpful backup players.
Selecting the Dairy: Heavy Cream vs. Whole Milk Ratios
The ratio here is 2:1 (Cream to Milk), which ensures the finished Cuisinart ice cream recipes are supremely rich. Always use full fat dairy; 35% heavy cream is non-negotiable for texture. Whole milk helps thin the base enough to cook evenly without losing richness.
Harnessing the Flavor of Proper Vanilla Bean Paste (or Pods)
Real vanilla changes everything about this recipe. I use a whole vanilla bean, scraped, and simmered with the dairy to fully infuse the base. The little black specks are proof you’re eating the good stuff.
If you use vanilla extract, please add it after cooking, not before, or the flavour dissipates.
Crafting the Perfect Caramel: Sugar Types and Salt Balance
For the caramel, granulated sugar works perfectly, but the key is patience during the melting process. You want a deep amber color, almost burnt, for maximum flavour complexity. The flaky sea salt Maldon is perfect should be added at the end for that brilliant textural crunch.
Smart Substitutions for the Custard Base (If Avoiding Eggs)
| Ingredient | Role | Viable Substitution | Chef’s Note |
|---|---|---|---|
| Heavy Cream | Fat/Richness | Full fat canned Coconut Cream (chill the cans first) | The coconut flavour will be noticeable, but delicious. |
| Egg Yolks | Emulsifier/Structure | 2 tsp Cornstarch mixed into a cold milk slurry | Add the slurry before cooking; it needs heat to thicken. |
| Vanilla Bean | Flavour | 1 Tbsp Vanilla Bean Paste | This gives you the visual appeal of the specks without scraping. |
| Whole Milk | Hydration | Half and Half (for even richer results) | Only use this if you want truly borderline illegal decadence. |
Method and Timing: Churning the Base in Your Cuisinart Ice Cream Maker
Phase 1: Preparing the Crème Anglaise (The Stovetop Process)
This is the only part that requires your full, undivided attention, so put your phone down. Heat the milk and cream gently with the vanilla bean until steamy, then let it steep for 15 minutes to pull all that incredible vanilla flavour out.
Meanwhile, whisk the yolks and sugar until they are pale yellow and look like thick ribbons falling off the whisk.
Phase 2: Mandatory Chilling Time and Tempering the Base
The tempering step is where most beginners panic, but it's simple: you are gradually warming the yolks so they don’t scramble when they hit the hot dairy. Slowly ladle about a cup of the hot milk into the egg mixture while whisking furiously. Whisking constantly is not optional.
Once combined, return the mixture to the saucepan and cook on low heat until it coats the back of a spoon, reaching 175°F (80°C).
Chef's Note: If you see any signs of curdling (tiny white bits floating), immediately remove the pan from the heat and whisk in 1/4 cup of cold heavy cream. This usually saves it!
Strain the entire base immediately into a container with the rest of the cold cream this is called shocking the mixture, and it stops the cooking process instantly. Cover the surface with plastic wrap to prevent a skin (yuck!) and chill until deeply cold, ideally overnight.
Phase 3: Monitoring the Ideal 20 25 Minute Churn in the Cuisinart Bowl
Before you start, the Cuisinart bowl must be running before you pour the base in. This prevents the base from freezing immediately onto the side walls. Pour the super cold base into the running machine and set a timer for 20 minutes. It will start to thicken rapidly.
The churn is done when the mixture has the consistency of soft serve ice cream or really thick Greek yogurt.
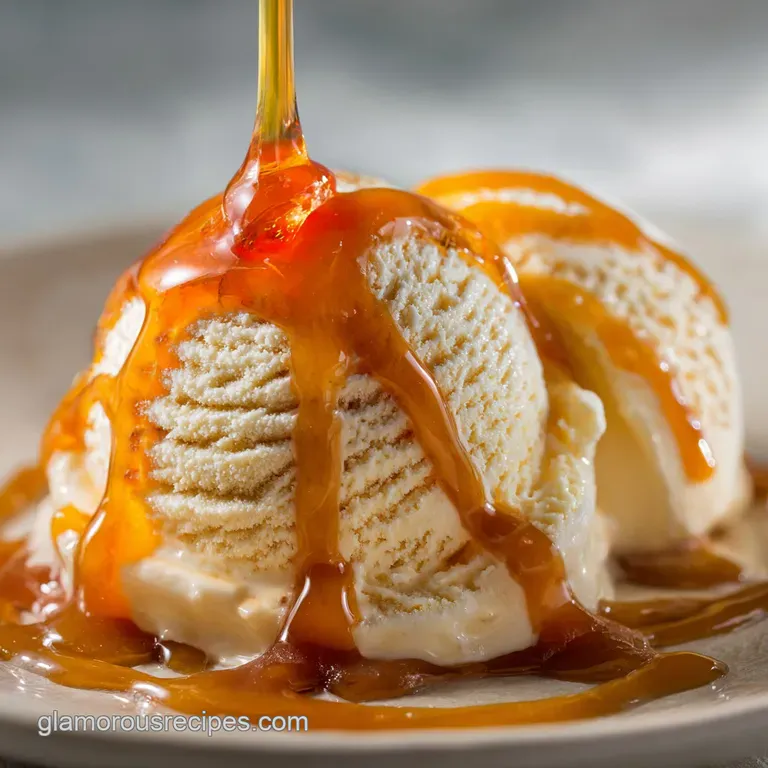
Phase 4: Folding in the Salted Caramel Swirl Post Churn
In the last two minutes of the churn, drizzle in the slightly chilled, but still pourable, salted caramel sauce. Do not add it earlier, or the sugar content can affect the churn. If you want a more distinct ribbon, stop the machine, transfer half the soft ice cream to the hardening container, drizzle with caramel, top with the remaining ice cream, and drizzle with the rest of the caramel.
Use a knife to create three gentle figure eights don't fully mix it! This technique ensures those dramatic, delicious swirls.
Expert Tips and Troubleshooting: Ensuring Flawless Cuisinart Ice Cream
The Importance of a Fully Frozen Freezer Bowl (The Cuisinart Prerequisite)
If your Cuisinart bowl isn't frozen solid, your base will not thicken, and you will just have cold soup. I made this mistake once and cried a little. The bowl must be kept in the freezer for a bare minimum of 24 hours. You should hear no liquid sloshing around when you shake it.
Why Your Ice Cream Base Curdled (And How to Fix It)
Curdling happens if you skip the tempering step or cook the custard too fast over too high a heat. Egg yolks are fragile! If you see scramble starting, strain the mixture immediately, then blitz it with an immersion blender for about 30 seconds. This might save the emulsion, though the texture won't be quite as pure.
Next time, use an instant read thermometer and do not go over 180°F (82°C).
Avoiding Over Churning: Recognizing the Perfect Soft Serve Consistency
If you churn for too long (over 30 minutes), you risk the fat clumping together and turning your beautiful ice cream into sweetened, frozen butter. Once the mixture is too thick to flow easily and begins climbing the paddle, it’s done. Move it quickly into the hardening container.
Perfecting the Finale: Hardening, Storage, and Serving
Achieving Optimal Hardening: The Deep Freeze vs. Standard Freezer
Right after churning, your ice cream is perfect for eating immediately, but it’s still soft serve. For the truly dense scoop, you need to harden it in the coldest part of your freezer (usually the back). Give it 2- 4 hours. If you want a perfectly creamy finished product, like my famous Mango Sticky Rice: The Ultimate Creamy Thai Dessert Recipe , patience is key for texture.
Best Practices for Long Term Storage (Preventing Freezer Burn)
Store your ice cream in a specialized airtight container, not a regular plastic tub. To prevent those horrible icy crusts (freezer burn), press a piece of parchment paper or waxed paper directly onto the surface of the ice cream before sealing the container. This eliminates contact with the air.
It will keep beautifully for about 2 weeks.
Suggested Gourmet Pairings for Salted Caramel Vanilla Bean Ice Cream
This rich flavour deserves a little drama.
- The Adult Affogato: Drench a scoop with a shot of hot, strong espresso.
- The Crunch Factor: Serve with toasted walnuts or pecans for textural contrast.
- The Ultimate Dessert Trio: Pair a small scoop alongside a warm brownie or my easy skillet cookie recipe (that’s an article for another day, ha!).

Recipe FAQs
Why is my homemade ice cream icy instead of creamy?
The primary culprit is insufficient chilling or an imbalance in the ratio of fat to water. Ensure your base is completely chilled before churning (at least 4 hours, preferably overnight), as warmth promotes larger ice crystals.
Additionally, high-quality ingredients like heavy cream and egg yolks minimize the amount of unbound water, improving texture.
Do I really need to temper the eggs for this custard base?
Yes, tempering the eggs is essential for this French style base to prevent curdling or scrambling. Slowly whisking the warm milk mixture into the beaten egg yolks raises their temperature gently and ensures a smooth, silky custard base.
If the mixture overheats during cooking, immediately place the pot in an ice bath and whisk vigorously to halt the cooking process.
How long should I pre-chill the ice cream base before churning?
The base must be chilled for a minimum of 4 hours, but ideally 12 hours (overnight). A properly chilled base (below 40°F/4°C) is crucial for the Cuisinart freezer bowl to freeze the mixture rapidly upon contact.
This rapid freezing guarantees the smallest possible ice crystals, which results in the smoothest final texture.
How do I know when the churning process is complete in the Cuisinart machine?
Churn time usually takes 20 to 30 minutes, depending on your base’s temperature and freezer bowl efficiency. The ice cream is ready when it pulls away from the sides of the bowl and reaches the consistency of firm soft serve yogurt.
Remember that the ice cream will firm up significantly further during the "curing" step in your deep freezer.
Can I make this luxurious recipe lower in fat or dairy-free?
You can reduce the fat slightly by swapping some heavy cream for whole milk, but avoiding high fat dairy will compromise the luscious, custard like texture. For a vegan version, substitute dairy with full fat canned coconut milk and use cornstarch or a commercial stabilizer to provide necessary structure, though the flavor profile will differ.
How long does homemade, custard based ice cream last in the freezer?
For optimal flavor and texture, homemade ice cream is best consumed within 1 to 2 weeks. To prevent freezer burn and crystallization, transfer the freshly churned ice cream to an airtight container. Press a layer of plastic wrap directly onto the surface before sealing the lid.
I ran out of granulated sugar. Can I substitute liquid sweeteners like honey or agave?
While substitutes are possible, be aware that liquid sweeteners like honey contain inverted sugars which can dramatically lower the freezing point of the mixture. This may result in a softer or sludgier ice cream that doesn't fully harden.
If substituting, you may need to reduce the total liquid in the recipe slightly to maintain proper structure.
Cuisinart Rich Salted Caramel Ice Cream

Ingredients:
Instructions:
Nutrition Facts:
| Calories | 365 kcal |
|---|---|
| Fat | 25 g |
| Fiber | 0 g |
