Blueberry Scones Recipe: Shatter Crisp
- Time: Active 15 minutes, Passive 20 minutes, Total 35 minutes
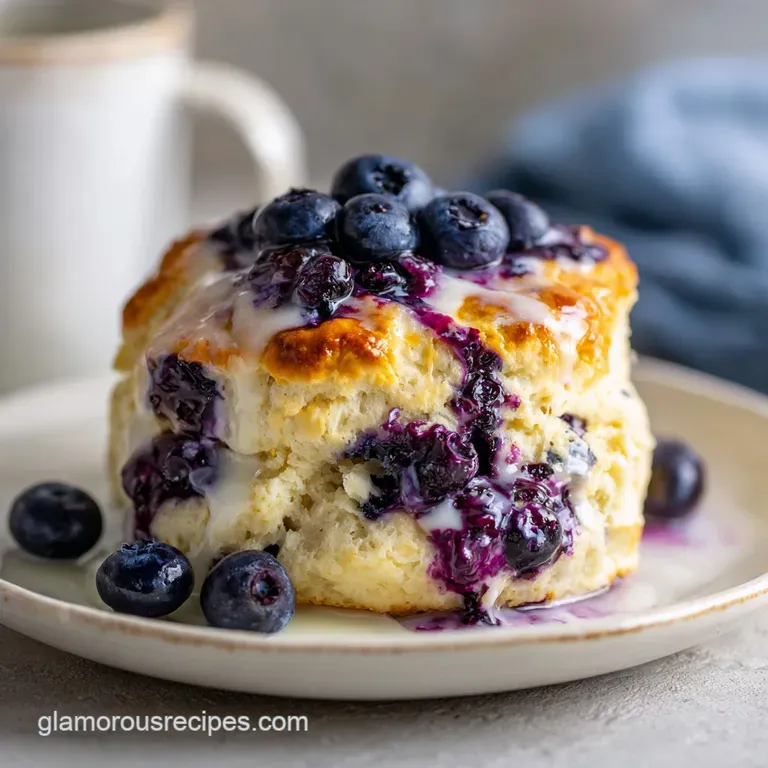
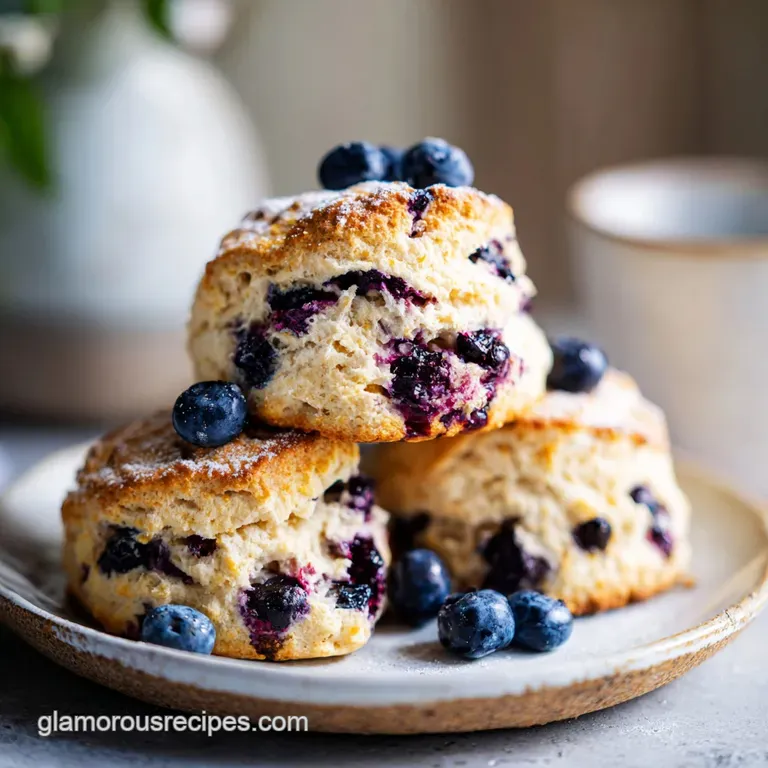
- Flavor/Texture Hook: Shatter crisp crust with a velvety, lemon scented crumb
- Perfect for: Elegant weekend brunches, artisan breakfast spreads, or special occasion tea parties
- Master the Artisan Blueberry Scones Recipe
- Why These Pastries Shatter
- Precise Prep and Timing Specs
- Sourcing the Finest Pastry Elements
- Essential Tools for Professional Results
- Bringing the Magic Together
- Avoiding Common Kitchen Disasters
- Adapting for Dietary Needs
- Storage and Zero Waste Tips
- Perfect Complements to Serve
- Recipe FAQs
- 📝 Recipe Card
Master the Artisan Blueberry Scones Recipe
The first time I pulled a tray of these out of the oven, the aroma of toasted butter and bright lemon zest filled my kitchen so quickly it felt like a physical hug. I remember the exact sound of my knife hitting the crust a distinct "shatter" that promised a tender interior.
For years, I struggled with heavy, leaden scones that felt more like hockey pucks, but this specific method changed everything for my morning pastry game.
We aren't just mixing dough here; we're performing a bit of kitchen magic. By treating the ingredients with a little respect and a lot of cold air, you'll transform basic pantry staples into something that looks like it belongs in a high end Parisian patisserie.
Honestly, once you see those layers pulling apart, you'll never go back to the dry, crumbly versions from the coffee shop. Let's crack on and get your kitchen smelling like a dream.
The beauty of this blueberry scones recipe lies in the contrast. You have the acidic pop of the berries, the richness of the sour cream, and that crunchy turbinado sugar topping that provides a sensory snap in every bite.
It’s elegant yet approachable, provided you follow a few non negotiable rules about temperature.
Why These Pastries Shatter
- Steam Expansion: Frozen butter hits the 200°C oven and immediately evaporates, creating tiny air pockets that lift the heavy dough.
- Acidic Tenderizing: Sour cream contains lactic acid which weakens gluten bonds, ensuring the crumb remains velvety rather than bread like.
- Starch Shielding: Coating the blueberries in the dry flour mix prevents them from bleeding juice, which would otherwise make the dough soggy and purple.
| Thickness | Internal Temp | Rest Time | Visual Cue |
|---|---|---|---|
| 2.5 cm dough | 200°C (Oven) | 5 minutes | Golden brown edges and firm center |
| 3 cm dough | 200°C (Oven) | 8 minutes | Deep amber bottom and visible layers |
| Mini scones | 200°C (Oven) | 3 minutes | Sizzling edges and pale gold tops |
Setting the right environment for your pastry is the difference between a flat biscuit and a towering scone. While some people swear by a hot stone, a simple heavy duty baking sheet is actually your best friend here because it allows for rapid heat transfer to the bottom of the dough.
Precise Prep and Timing Specs
| Component | Science Role | Pro Secret |
|---|---|---|
| Frozen Butter | Solid fat structure | Grate it while frozen to keep pieces uniform and cold |
| Baking Powder | Chemical leavening | Check expiration; old powder leads to "lead weight" scones |
| Full fat Sour Cream | Moisture and fat | Never use low-fat; the fat content stabilizes the crumb |
When we talk about the "lamination lite" technique, we're referring to how we handle the fat. If the butter melts before it hits the oven, you lose the "shatter" effect. That’s why we use frozen butter it buys us time during the mixing phase.
If you find your kitchen is particularly warm, pop your flour bowl in the fridge for 10 minutes before you start. It sounds fussy, but it's how you get that artisan finish.
For a different flavor profile that still hits those bright, citrusy notes, you might enjoy pairing these with a chilled glass of my Limoncello Recipe. The lemon zest in the dough echoes the digestivo's aroma beautifully.
Sourcing the Finest Pastry Elements
- 2 cups (250g) All purpose flour: The structural foundation. Why this? Provides enough protein for lift without making the scone tough.
- 1/4 cup (50g) Granulated sugar: For subtle sweetness. Why this? Just enough to tenderize the crumb without being cloying.
- 1 tbsp Baking powder: The primary lifter. Why this? A large amount is needed to counteract the heavy berries.
- 1/2 tsp Sea salt: Flavor enhancer. Why this? Cuts through the richness of the butter and cream.
- 1/2 cup (113g) Unsalted butter, frozen solid: The flake maker. Why this? Keeps layers distinct; salted butter makes the dough too weep prone.
- 1/2 cup (120g) Full fat sour cream: The moisture source. Why this? Adds fat and acidity for a velvety texture.
- 1 large Egg, cold: The binder. Why this? Provides structure and a richer golden color.
- 1 tsp Vanilla extract: The aromatic. Why this? Rounds out the fruitiness of the berries.
- 1 cup (150g) Fresh blueberries: The star ingredient. Why this? Use fresh to avoid excess moisture; frozen berries often bleed too much.
- 1 tbsp Lemon zest: The bright note. Why this? Essential for cutting through the buttery finish.
- 1 tbsp Heavy cream: For the glaze. Why this? Encourages Maillard reaction for a deep gold crust.
- 1 tbsp Turbinado sugar: The crunch factor. Why this? Large crystals won't melt in the oven heat.
| Original Ingredient | Substitute | Why It Works |
|---|---|---|
| Full fat Sour Cream | Greek Yogurt (Plain) | Similar acidity and thickness. Note: Crumb may be slightly drier |
| Fresh Blueberries | Frozen Blueberries | Keep them frozen until the very last second to prevent bleeding |
| Turbinado Sugar | Sparking Sugar | Similar large crystal size for that essential "snap" texture |
Choosing the right berries is a small detail that makes a massive impact. I prefer the small, "wild" variety if you can find them, as they have a higher skin to flesh ratio, which means more flavor and less water. If you're looking for a savory alternative to this baking style, my Stuffed Portobello Mushrooms recipe uses a similar philosophy of balancing moisture and texture.
Essential Tools for Professional Results
You don't need a high end stand mixer for this. In fact, using your hands (or a pastry cutter) is actually better because you can feel the temperature of the dough. A box grater is my secret weapon for the butter it creates these perfect little "shreds" that distribute evenly without you having to overwork the flour.
A bench scraper is also incredibly helpful for folding the dough without transferring the heat from your palms. If you don't have one, a large metal spatula works in a pinch. The goal is to keep everything as cold as possible until the tray slides into the heat.
| Method | Time | Texture | Best For |
|---|---|---|---|
| Conventional Oven | 20 minutes | Shatter crisp exterior, soft middle | The classic artisan scone |
| Stovetop (Cast Iron) | 25 minutes | Dense, biscuit like, scorched bottom | A rustic, "camp style" scone |
| Air Fryer | 12 minutes | Extremely crispy, potentially dry | Small batches of mini scones |
Bringing the Magic Together
Phase 1: Cold Integration
- Whisk dry components. In a large bowl, combine the 250g flour, 50g sugar, baking powder, and sea salt. Note: This ensures the leavening is perfectly distributed before the wet ingredients arrive.
- Grate the butter. Take your 113g frozen butter and grate it directly into the flour using a box grater. Note: This is much more efficient than using a pastry blender.
- Toss and chill. Use a fork to toss the butter shreds until they are coated in flour, then put the bowl in the freezer for 5 minutes.
Phase 2: Gentle Hydration
- Mix wet ingredients. In a separate small bowl, whisk the 120g sour cream, egg, vanilla, and lemon zest.
- Create a well. Pour the wet mixture into the cold flour. Fold gently 4-5 times with a spatula until just barely combined.
- Add the berries. Fold in the 150g blueberries carefully to avoid crushing them. The dough should look shaggy and messy.
Phase 3: The Shattering Bake
- Shape the disc. Turn the dough onto a floured surface and pat into a 20 cm circle. Note: Do not use a rolling pin; your hands are gentler.
- Cut the wedges. Slice into 8 even triangles using a sharp knife or bench scraper.
- Glaze and top. Brush the tops with heavy cream and sprinkle generously with turbinado sugar.
- Bake 20 minutes. Place on a parchment lined sheet at 200°C until the tops are golden and the bottoms sizzle.
Chef's Tip: If the dough feels sticky or "melty" while you are shaping it, put the whole tray in the freezer for 15 minutes before putting it in the oven. This "thermal shock" creates the best rise.
Avoiding Common Kitchen Disasters
Preventing The Purple Dough
If your dough turns purple, it's usually because the berries were either too warm or over handled. When juice leaks out, the acidity reacts with the flour and turns a grayish blue. Always use a light touch when folding.
If you use frozen berries, do not thaw them first; they should go from the freezer into the dough and straight into the oven.
Getting the Extra Lift
If your scones are coming out flat, check your baking powder. But more importantly, check your oven temp. Many home ovens run cold. A true 200°C is necessary to trigger that immediate steam release from the butter. Without that "pop," the dough will just slump and spread.
| Problem | Root Cause | Solution |
|---|---|---|
| Tough/Rubbery crumb | Over mixing the dough | Stop mixing the moment no dry flour remains |
| Flat scones | Warm butter or old baking powder | Use frozen butter and "thermal shock" in the freezer |
| Burnt bottoms | Dark baking sheet | Use parchment paper or double up your baking sheets |
Common Mistakes Checklist
- ✓ Never use room temperature butter (it will result in a cake like texture).
- ✓ Avoid over working the dough; "shaggy" is the goal for the initial mix.
- ✓ Don't skip the lemon zest; the oils are essential for the flavor profile.
- ✓ Make sure your oven is fully preheated for at least 20 minutes before baking.
- ✓ Handle the berries like they are made of glass to prevent bleeding.
Adapting for Dietary Needs
For a gluten-free Alternative
You can swap the all purpose flour for a high-quality 1:1 gluten-free baking blend (like King Arthur or Cup4Cup). Because gluten-free flours don't develop structure the same way, I recommend adding an extra 1/4 teaspoon of xanthan gum if your blend doesn't already include it.
The texture will be slightly more crumbly, but the sour cream will keep it moist.
For a Vegan Variation
Substitute the butter with a high fat vegan butter stick (frozen) and use a thick vegan Greek style yogurt in place of the sour cream. For the egg, a "flax egg" (1 tbsp ground flax + 3 tbsp water) works, though the rise will be slightly less dramatic.
Brush the tops with coconut milk instead of heavy cream for a similar golden finish.
For those looking for a much simpler, entry level bake before tackling these artisan layers, you might try my 3 Ingredient Biscuits recipe. They use a similar cold fat principle but are much more forgiving for beginners.
Storage and Zero Waste Tips
Storage Guidelines: Scones are best eaten within 4 hours of baking while the crust is at its peak "shatter." However, you can store them in an airtight container at room temperature for up to 2 days.
To revive that velvety interior, wrap them in foil and heat in a 150°C oven for 10 minutes. Avoid the microwave, as it will make the crust soggy.
Freezing Instructions: You can freeze the baked scones for up to 3 months. Even better, freeze the unbaked wedges on a tray, then transfer to a freezer bag. Bake them straight from frozen, adding about 3-5 minutes to the total cook time.
Zero Waste Tips: If you have leftover lemon zest or lemons, don't throw them out! Rub the zest into extra granulated sugar to make "lemon sugar" for your next tea. Any scones that go truly stale can be crumbled up and used as a base for a Blueberry Bread Pudding recipe, which is a fantastic way to give old pastry a second life.
Perfect Complements to Serve
These scones are a powerhouse on their own, but they truly shine when served with a dollop of clotted cream or a high-quality salted butter. Because the scone itself isn't overly sweet, a tart lemon curd is a spectacular pairing that highlights the citrus notes in the dough.
If you're hosting a brunch, serve these alongside fresh seasonal fruit and a strong Earl Grey tea. The bergamot in the tea acts as a bridge between the buttery dough and the bright blueberries.
If you want a more "indulgent" morning, a side of crispy thick cut bacon provides a salty contrast that makes the sugar crusted tops of the scones taste even better.
If you want X, do Y: If you want a softer, muffin like top, skip the turbinado sugar and brush with milk instead of heavy cream. If you want extra high layers, fold the dough over itself twice (like a letter) before patting it into the final circle.
If you want mini scones, cut the circle into 12 or 16 wedges and reduce the bake time to 12-14 minutes.
The Myth of Room Temp Ingredients
Many bakers assume that all baking ingredients should be room temperature. For scones, this is the quickest way to failure. The "magic" is in the temperature differential. The colder the dough and the hotter the oven, the more dramatic the rise.
"Creaming" butter and sugar is for cakes; "cutting" cold fat is for scones. Don't let anyone tell you otherwise!
The Hand Mixing Advantage
While it's tempting to use a food processor to cut in the butter, I find it often over processes the fat into too small particles. You want some pea sized chunks of butter remaining. These chunks are what create the visible layers.
If the fat is pulverized, you'll get a uniform, sandy texture that lacks the artisan "shatter" we're looking for. Trust your hands; they're your best sensors.

Recipe FAQs
What is the secret to making good scones?
Keep everything cold and handle the dough minimally. The goal is to keep the fat (butter) solid until it hits the hot oven, allowing steam pockets to create flaky layers.
What is the 15 minute rule for scones?
The 15 minute rule refers to active mixing time. You should spend no more than 15 minutes total combining the ingredients before shaping and baking.
What makes a great blueberry scone?
The contrast between a shatter crisp exterior and a velvety, tender crumb. This is achieved using cold sour cream and coating the blueberries in flour to prevent juice bleed.
Is it better to use fresh or frozen blueberries in scones?
Yes, fresh blueberries are generally preferred. Frozen berries release excessive moisture when baking, which can make the surrounding dough wet and cause the color to bleed.
Why do my scones bake flat instead of tall?
This usually means your butter was too warm or your baking powder is expired. Ensure your butter is grated frozen, and for a similar textural challenge, see how rapid heat transfer works when mastering the Sweet Potato Pecan recipe.
How to substitute sour cream in this recipe?
Use full fat Greek yogurt as a direct substitute. It provides the necessary acidity and thickness to keep the crumb tender, much like how buttermilk is used in our Valentines Food Idea recipe.
How do I prevent the dough from sticking to my hands during shaping?
Lightly flour your work surface and use a bench scraper or spatula to lift the dough, not your hands. If the dough feels soft, chill the entire mass for 10 minutes before trying to cut the wedges.
Blueberry Scones Recipe Flaky
Ingredients:
Instructions:
Nutrition Facts:
| Calories | 303 kcal |
|---|---|
| Protein | 4.6 g |
| Fat | 15.9 g |
| Carbs | 35.7 g |
| Fiber | 1.5 g |
| Sugar | 10.6 g |
| Sodium | 301 mg |
