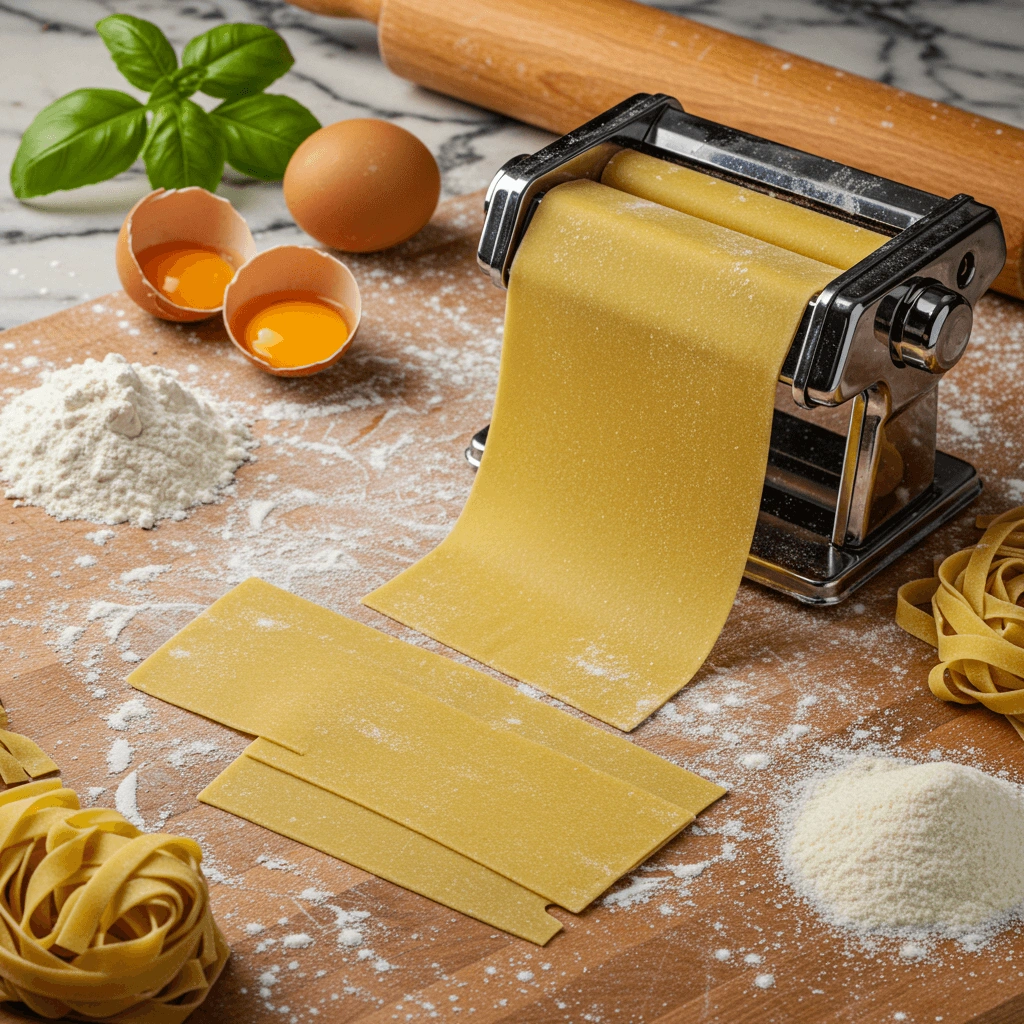
There’s something magical about pulling a bubbling lasagna from the oven, knowing that every layer—from the delicate pasta to the rich sauce—was crafted by your own hands. While store-bought lasagna noodles certainly have their place in a pinch, nothing compares to the silky texture and fresh flavor of homemade pasta. In this comprehensive guide, I’ll walk you through creating restaurant-quality lasagna noodles in your kitchen, transforming your next Italian dinner into an authentic culinary experience.
Why Homemade Lasagna Noodles Are Worth the Effort
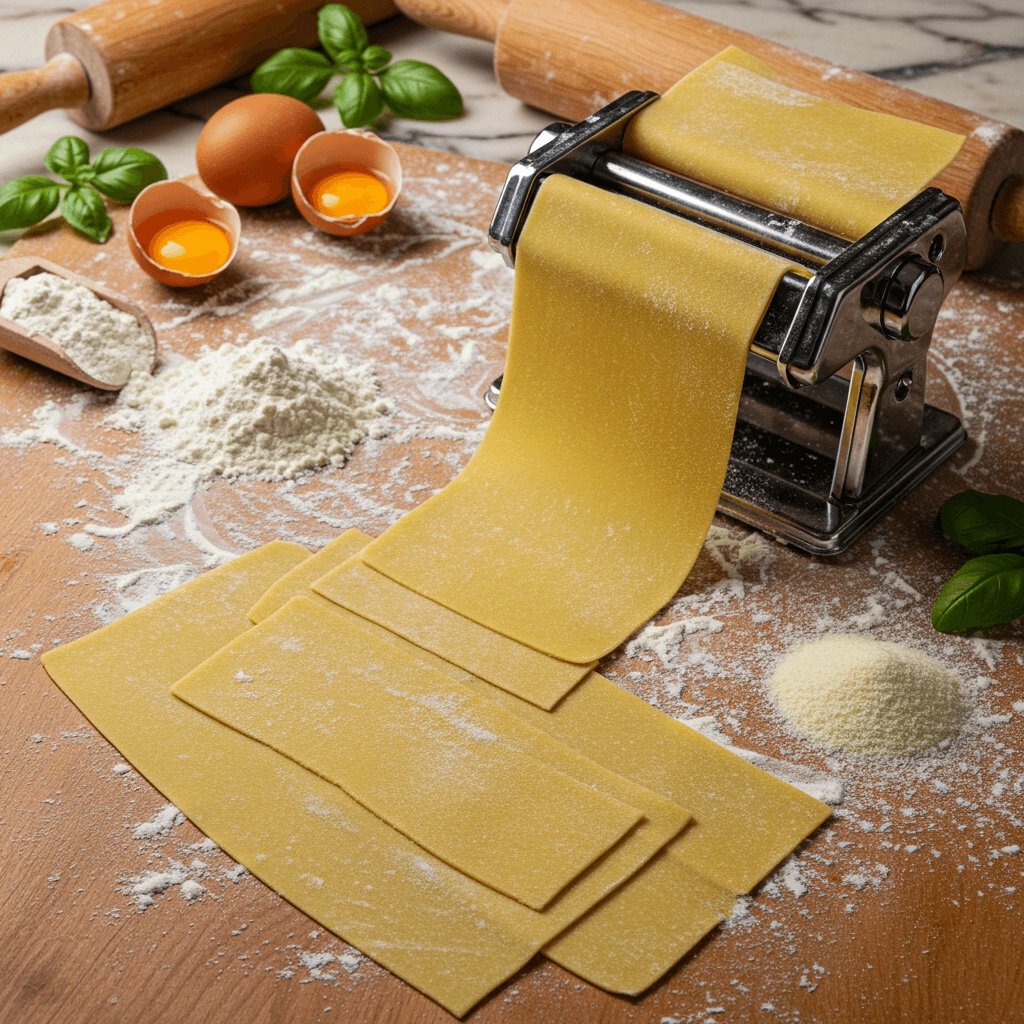
The difference between homemade and store-bought lasagna noodles isn’t subtle—it’s transformative. Fresh pasta has a tender bite and absorbs sauce beautifully, creating a harmonious marriage of flavors that pre-packaged varieties can’t match. Plus, there’s an undeniable satisfaction in serving a completely scratch-made dish to appreciative family and friends.
Many home cooks assume pasta-making is complicated, but with the right approach, it’s surprisingly straightforward. This guide breaks down the process into three manageable steps:
- Making the pasta dough
- Rolling the dough into sheets
- Cutting the sheets into perfect lasagna noodles
Essential Ingredients for Perfect Pasta
Quality ingredients make all the difference in pasta-making. Here’s what you’ll need:
Flour Matters
Tipo 00 flour is the gold standard for Italian pasta. Its fine texture and moderate protein content (around 11-12%) create the ideal balance between tenderness and structure. If you can’t find Tipo 00, all-purpose flour will work, though the texture will be slightly different.
The Perfect Egg Ratio
Eggs are the binding agent that gives pasta its rich flavor and beautiful yellow hue. For this recipe, you’ll need:
- Whole eggs plus one additional egg yolk (approximately 185g combined weight)
- A touch of olive oil (to adjust the liquid content if needed)
The precision of this ratio is crucial—too much liquid makes sticky dough, while too little creates crumbly pasta that won’t hold together.
Don’t Forget the Semolina
Semolina flour isn’t just for dusting your work surface—it prevents sticking without being absorbed into the dough like regular flour would. This helps maintain the perfect moisture balance in your pasta.
Equipment: From Essential to Nice-to-Have
While pasta-making has been done with simple tools for centuries, modern equipment can make the process more efficient and consistent.
Must-Have Tools:
- Pasta machine (either a KitchenAid stand mixer attachment or a hand-crank model)
- Non-stick parchment paper (at least 5 sheets)
- Sheet pan for organizing your pasta sheets
Recommended for Easier Preparation:
- Food processor (dramatically speeds up dough-making)
- Rolling pin (helps flatten the dough before feeding it through the machine)
- Digital kitchen scale (for precise measurement of eggs and oil)
For Storage and Drying:
- Wire cooling racks and kitchen towels (if planning to dry your pasta)
- Airtight containers and plastic wrap (for refrigerating or freezing)
Essential Tips for Lasagna Noodle Success
Space Considerations
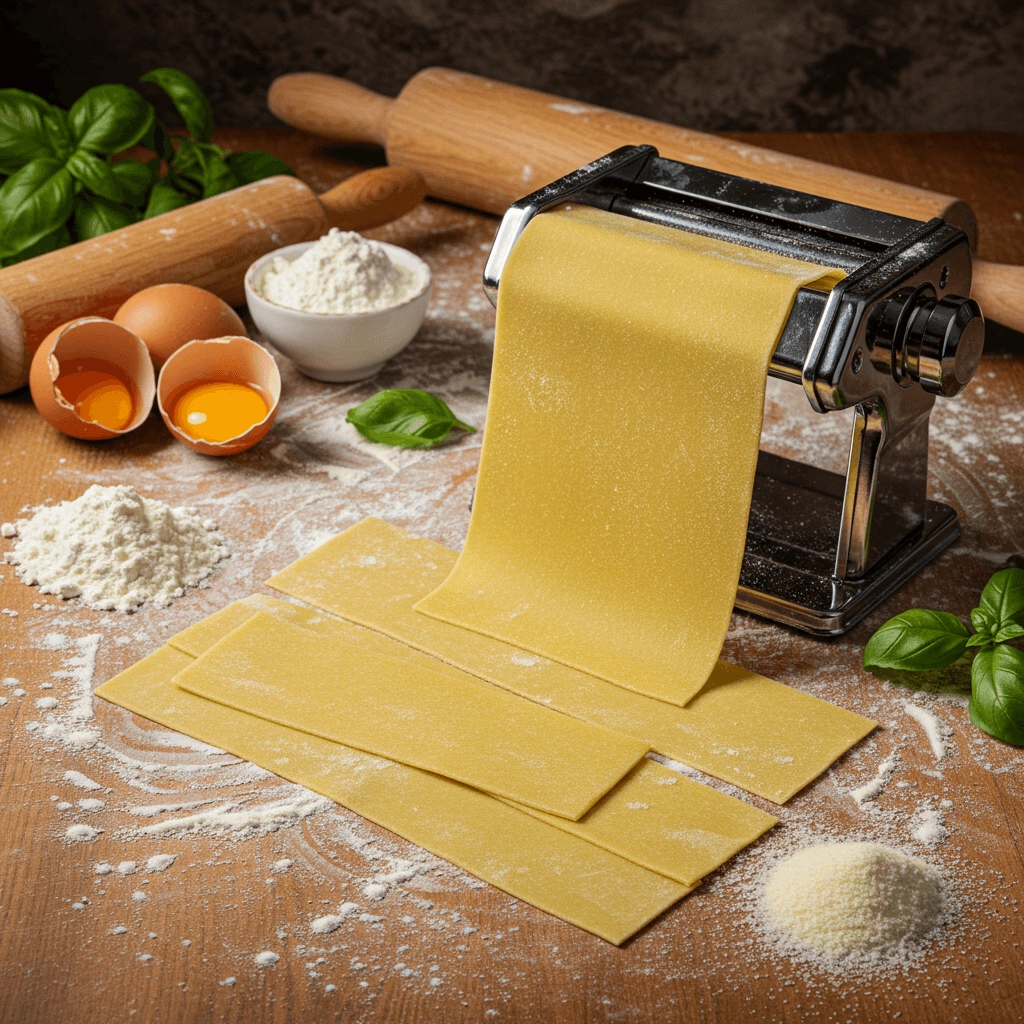
Clear ample counter space before starting—rolled pasta sheets can stretch up to three feet long! This might seem excessive, but proper spacing prevents pasta sheets from sticking together or tearing.
The Thickness Sweet Spot
The ideal thickness for lasagna noodles falls between 0.60-1mm. This might sound technical, but it’s critical:
- Too thin: Your lasagna will be dry as the noodles absorb too much sauce
- Too thick: The noodles won’t cook through properly
For reference, setting #3 on a KitchenAid pasta attachment produces approximately 1mm thick pasta. For a five-layer lasagna in a standard 9×13 inch pan, setting #4 often hits the perfect balance.
Machine Settings Vary
Different pasta machines use different thickness scales. Don’t assume setting #4 on one machine equals setting #4 on another. Always refer to your specific machine’s instructions and adjust accordingly.
Planning Ahead
Decide whether you’ll be cooking immediately or storing your pasta. Fresh pasta is best used within hours of making, but proper storage techniques can extend its life significantly.
Creating Your Pasta Dough: Two Methods
Food Processor Method (Recommended for Beginners)
- Add flour, eggs, and olive oil to your food processor
- Pulse until the mixture forms a cohesive dough (about 15-20 seconds)
- Allow the dough to rest covered for 5 minutes
- Knead briefly by hand (1-2 minutes) until smooth and elastic
- Form into a ball, cover, and rest for 30 minutes to an hour
This resting period is non-negotiable—it allows the gluten to relax, making the dough easier to roll and resulting in more tender pasta.
Traditional Hand Method
If you prefer the meditative process of making pasta by hand (or don’t have a food processor), follow these steps:
- Create a well of flour on your work surface
- Pour eggs into the center
- Gradually incorporate flour using a fork
- Knead for 8-10 minutes until smooth and elastic
- Rest the covered dough for at least 30 minutes
Rolling Perfect Pasta Sheets
Prepare Your Workspace
Before rolling, set up your station:
- Clean and dust a large work surface with semolina
- Prepare your pasta machine, dusting it lightly with semolina
- Line a sheet pan with parchment paper (no overhang)
- Cut four additional parchment sheets
The Rolling Process
- Divide your rested dough into four equal pieces
- Work with one piece at a time, keeping others covered to prevent drying
- Flatten the first piece to approximately 6×8 inches
- Feed it through the widest setting on your pasta machine twice
- Progress through increasingly thinner settings, passing the dough through each setting twice
- If the sheet becomes unwieldy, cut it in half
- Continue until you reach the desired thickness (slightly translucent, around 0.60mm)
For a KitchenAid attachment, this typically means working through settings #1 through #4 or #5. Hand-crank machines may use different numbering systems, so adjust accordingly.
Cutting and Shaping Your Lasagna Noodles
Sizing for a Standard Pan
For a 9×13-inch lasagna pan, trim your pasta sheets to approximately 5×12 inches. This allows for slight shrinkage during cooking and ensures complete coverage of your pan.
Each 38-inch pasta sheet typically yields about three noodles. Aim for 10-12 noodles for a standard lasagna, which usually requires all four portions of your dough.
Organizing Your Noodles
Place cut noodles in a single layer on your parchment-lined sheet pan, adding another sheet of parchment between layers to prevent sticking. This organization makes assembly much easier when you’re ready to build your lasagna.
Storage Options for Fresh Pasta
Fresh pasta is versatile when it comes to storage, giving you options depending on your timeline:
Short-Term Storage (Up to 1 Hour)
Keep noodles in a single layer on a parchment-lined pan, layered with additional parchment, and tightly covered with plastic wrap or in an airtight container.
Refrigerator Storage (Up to 12 Hours)
Arrange between parchment layers in the refrigerator. The pasta may oxidize slightly, turning darker, but this doesn’t affect the taste.
Freezer Storage (Up to 1 Month)
Layer between parchment in an airtight container and freeze. Defrost thoroughly before using.
Drying Homemade Lasagna Noodles
For more extended storage without freezing, drying your pasta is an excellent option:
- Line wire cooling racks with clean kitchen towels
- Arrange semolina-dusted noodles in a single layer, ensuring air circulation
- Allow to air-dry at room temperature for up to 24 hours (drying time varies by season and humidity)
- Noodles are dehydrated when they snap cleanly
- Store in an airtight container for up to 1 month
The Great Debate: Parboil vs. No-Boil
Even among pasta experts, there’s disagreement about whether fresh lasagna noodles need parboiling before assembly. Here’s the consideration:
Fresh pasta absorbs significantly more liquid than dried pasta. Some renowned chefs, including Marcella Hazan and the famous Pasta Grannies, recommend briefly parboiling fresh pasta to give it a head start on liquid absorption.
Parboiling Method
- Bring a large pot of salted water to a boil
- Add 2 noodles at a time, cooking for only about 30 seconds
- Transfer to a colander and rinse immediately with cold water
- Lay separately on clean kitchen towels to dry slightly
- Use immediately or store separated by parchment in an airtight container
This quick-cooking step helps the pasta absorb enough water to prevent it from pulling too much liquid from your sauce during baking.
Bringing It All Together: Building Your Lasagna
Now that you’ve mastered fresh pasta, you can create an exceptional lasagna. Layer your homemade noodles with your favorite fillings—a classic Bolognese, a rich béchamel, or a vegetarian medley of roasted vegetables and ricotta.
The beauty of homemade pasta is its versatility. Once you’ve mastered the basic technique, you can experiment with different flours, add herbs to the dough, or even incorporate vegetable purees for colorful variations.
Beyond Lasagna: Expanding Your Fresh Pasta Repertoire
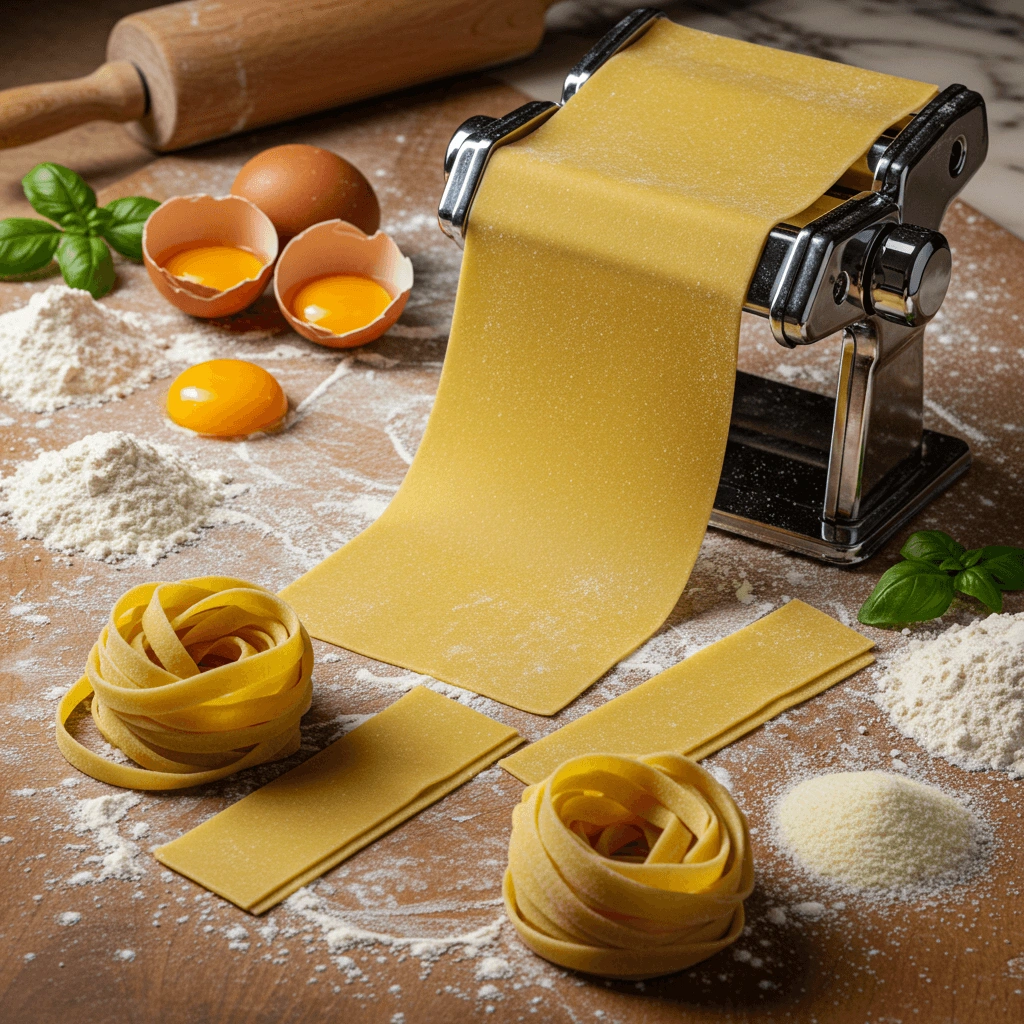
Once you’ve conquered lasagna noodles, consider exploring other fresh pasta shapes:
- Fettuccine
- Tagliatelle
- Pappardelle
- Ravioli
- Tortellini
Each shape brings its own unique texture and sauce-holding capabilities to your dishes.
Frequently Asked Questions: Homemade Lasagna Noodles
You can roll the dough by hand using a rolling pin, though it requires more effort to achieve consistent thickness. Aim to roll the dough as thin as possible (about 1/16 inch or 1.5mm) and ensure even thickness.
The pasta dough should feel smooth and slightly elastic, not sticky or crumbly. It should hold together when pressed but not stick to your fingers. If it’s too dry, add a few drops of water; if it’s too sticky, dust with a bit of flour.
Yes, all-purpose flour substitutes for Tipo 00, though the texture will be slightly different. Your noodles may be less silky, but they will still taste delicious. Use the exact weight measurement when substituting.
No, fresh pasta can be used immediately after cutting. Drying is only necessary if you plan to store the noodles for extended periods. Fresh, undried pasta often produces the best texture in lasagna.
Yes, pasta dough can be made up to 24 hours in advance. Wrap it tightly in plastic wrap and refrigerate. Bring it to room temperature for about 30 minutes before rolling.
Tearing usually happens when the dough is too dry or hasn’t rested long enough. Ensure your dough has rested at least 30 minutes before rolling and is neither too dry nor sticky.
A traditional lasagna typically has 4-5 layers of pasta, but this can vary based on personal preference and pan depth. With homemade pasta, which is more delicate, 4-5 layers create an ideal balance of pasta and filling.
Yes, but with fresh pasta, it’s best to partially bake the lasagna (about 30 minutes covered) before freezing. This prevents the fresh pasta from absorbing too much liquid during thawing and becoming mushy.
Most beginners can produce good results on their first try by following instructions carefully. Developing a feel for perfect dough consistency and rolling techniques typically takes 3 to 4 practice sessions.
Absolutely! While requiring more effort than opening a box, homemade noodles significantly elevate the flavor and texture of your lasagna, creating a more authentic Italian experience that store-bought pasta can’t match.
Final Thoughts: The Art of Pasta Making
Creating homemade lasagna noodles is more than just cooking—connecting with centuries of Italian culinary tradition. The process may take longer than opening a box of dried pasta, but the results are undeniably superior.
With practice, you’ll develop an intuitive feel for the dough and find shortcuts for your kitchen setup. Soon, what once seemed like a unique occasion project will become a comfortable part of your cooking repertoire.
So clear your counter, dust it with semolina, and dive into the satisfying world of homemade pasta. Your lasagna will never be the same again.
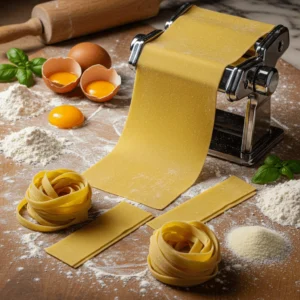
Homemade Lasagna Noodles from Scratch
Ingredients
- 2 cups 250g Tipo 00 flour
- 3 large eggs plus 1 egg yolk approximately 185g combined weight
- 1-2 teaspoons olive oil if needed to adjust dough consistency
- Semolina flour for dusting
Instructions
- Add flour to a food processor. Add eggs and pulse until dough forms (15-20 seconds).
- Rest the dough covered for 5 minutes, then knead by hand for 1-2 minutes until smooth.
- Form into a ball, wrap in plastic, and rest for 30 minutes to 1 hour.
- Divide dough into 4 equal pieces. Keep unused portions covered.
- Flatten one piece to about 6×8 inches and dust with semolina.
- Roll through the pasta machine twice at the widest setting (#1).
- Continue rolling through progressively thinner settings, passing through each setting twice.
- Roll until pasta is slightly translucent (about 0.60mm thick, typically setting #4 on KitchenAid).
- Trim sheets to fit your lasagna pan (approximately 5×12 inches).
- Place cut noodles in a single layer on a parchment-lined sheet pan, adding additional parchment between layers.
- If par-boiling, cook noodles 2 at a time in boiling salted water for 30 seconds, then rinse with cold water and lay on kitchen towels.
- Use immediately in your lasagna recipe or store according to instructions.
Notes
- For best results, use a digital scale to measure ingredients by weight.
- If you don’t have Tipo 00 flour, all-purpose flour can be substituted.
- Fresh pasta absorbs more liquid than dried, so adjust your lasagna recipe accordingly.
- Pasta can be made up to 24 hours before and stored on parchment paper in the refrigerator.
- For extended storage, pasta can be frozen for up to 1 month or thoroughly dried and stored in an airtight container.
- Different pasta machines use different thickness settings. Adjust according to your specific machine.

